Looking through oil and water
Monday, September 21st, 2026 at 04:07pm
When I posted about looking through my list and picking lightbulb on a tablet as the next thing to work on and important qualifier was having all the parts. I have actually gone through the entire list of ideas and created a list of things that I need to get before I could start.
I did try oil and water with a clear baking dish balanced on top of some small boxes, but this was both too precarious and I quickly found that I needed a better container that had less imperfections and/or lettering.
To have a better platform I wanted a piece of glass, but where is a convenient place to get a small piece of tempered glass? A glass shelf and there is an IKEA not that far away where I picked up an UTRUSTA shelf.
For the container I had gotten some interesting results from a round Pyrex jug, but I could tell that for the nice smooth results I needed something larger and with square sides. I normally don’t like using Amazon, but that was where I found some acrylic trays, these came in a number of sizes and are advertised as for organising makeup in a drawer.
This was my final setup:
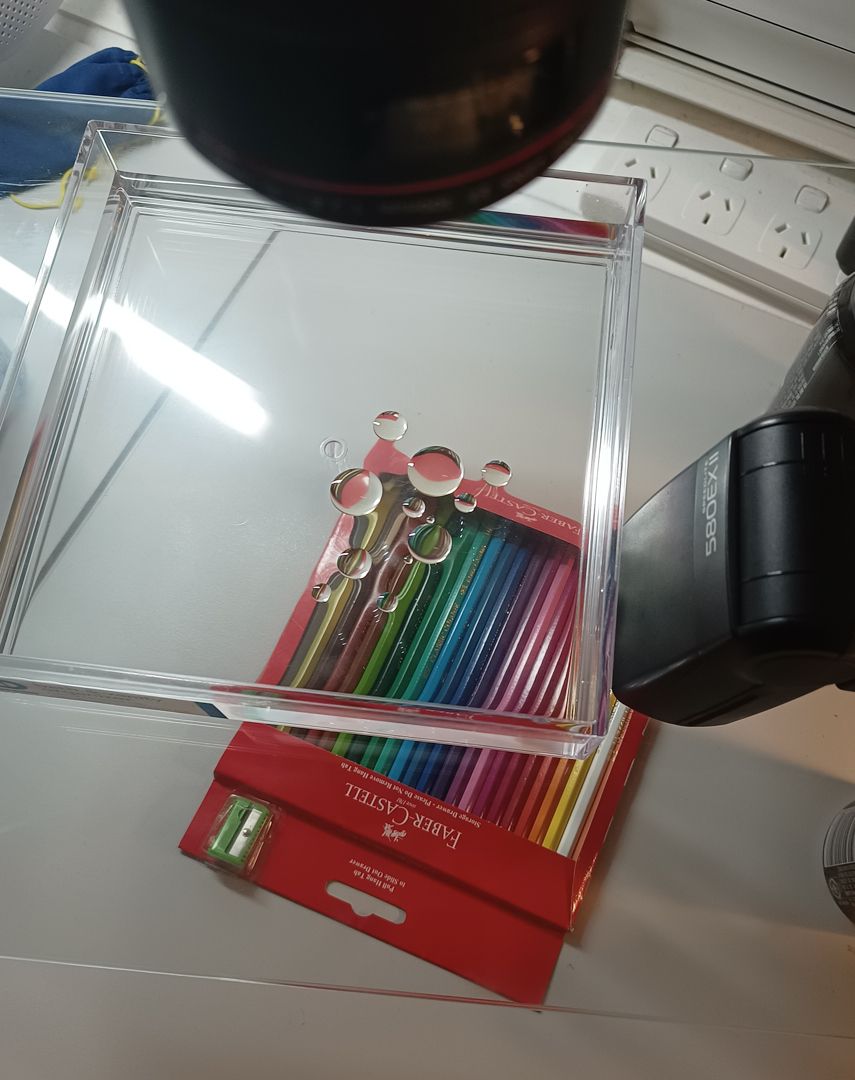
From the bottom up we have:
- the grey surface of my desk
- coloured objects, in this case a set of pencils
- glass shelf raised up 13cm (four soft drink cans)
- acrylic tray on the shelf (about half full of water)
- flash (configured as a remote with ettl) firing down through the shelf
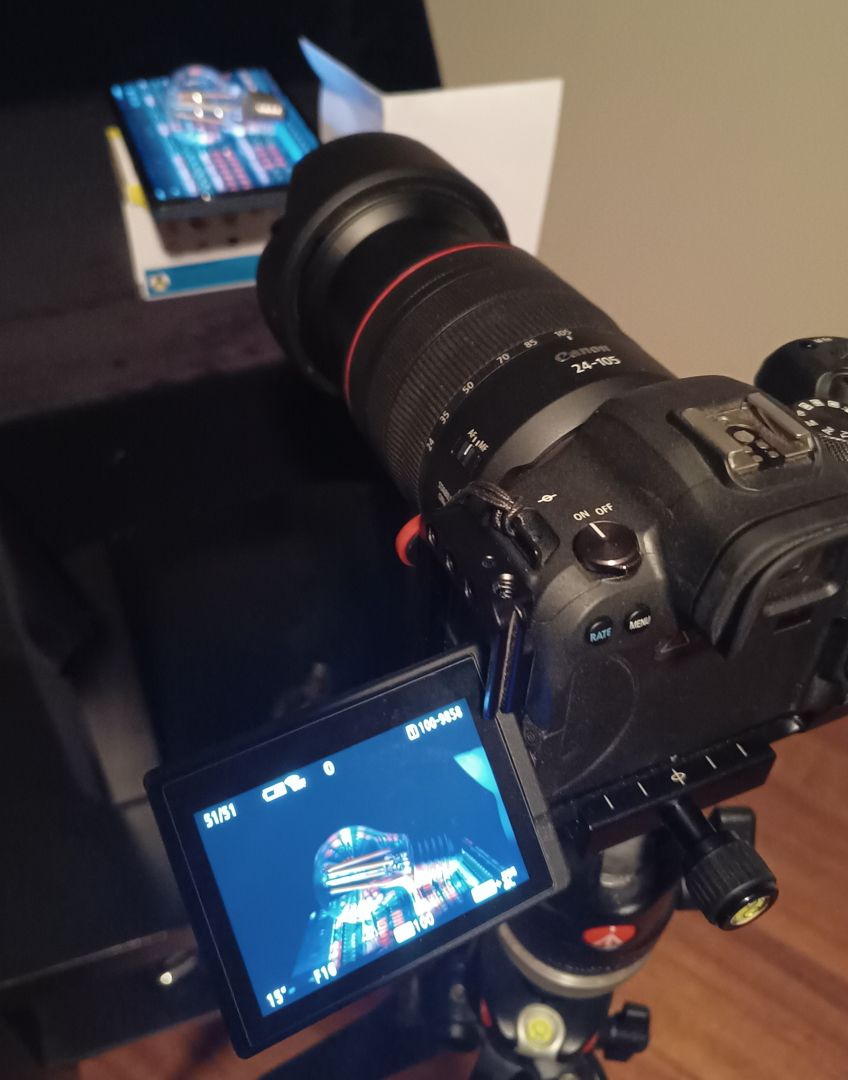
- above the whole lot pointing directly down is my camera with macro lens, as close as possible to minimum focus distance
- to the right is my desktop computer, I was shooting tethered over USB
Initially I tried using my tablet as the source of coloured/patterned light, but it just wasn’t bright enough. I had to raise the ISO much higher than I wanted, a larger tablet might give better results. I then tried a small continuous LED light but that also didn’t give enough light. The flash is what allowed me to keep the camera at ISO 100.
Over the course of three sessions I took well over two thousand images, after an initial purge that is down to just under a thousand, from that I have a selection of thirty two in a Flickr album: Oil and water
The technique I was using at the end was:
- Start with everything completely clean, there should be no oil reside anywhere
- Slowly pour water into the tray, don’t want any air bubbles
- Carefully add a few drops of oil under where the camera is shooting
- Focus on the drops, live view from my desktop PC made this easier to see
- The drops will slowly drift around, maybe add a couple more, but mostly wait
- Underneath the shelf add/remove/move the coloured objects
- Periodically take photos, move the flash or objects around
As the oil drops are moving slowly you get more variance from shifting around the objects under the shelf. The last dozen or so images in my album are the same drops but with different objects, cropping and rotation, eg these:


The mono one is just the grey desk surface, the red one is the shiny back cover of the pencil box, the blue/orange/grey is overlappting tissue paper and the more striped one is the pencils.
One disadvantage of this technique is that as soon as dust starts to settle on the water or you have added too much oil your must reset. Empty the tray and thoroughly clean it, then fill it back up with clean water.
Another disadvantage of this technique is that very quickly after the drops touch will they combine, which you can catch:

To avoid both of these issues you can add a drop of dishwashing liquid which will lower the surface tension, clearing away the dust (as is seen in the Pepper and Water Science Trick – YouTube) and will also make the oil drops stay separate.
You can them get the clusters of small drops, but I didn’t like that you also have a dark ring around each drop:


Stirring up the oil and water can introduce air bubbles, and in a deeper container can give interesting effects with large globs of oil on the surface and tiny bubbles and drops below:


Post processing these images can be tedious, no matter how clean you have it, there was always specs or small drops that I didn’t want. For the ones where I wanted it smooth all over, I used the spot removal tool over everything. For others where there was a lot of activity I would spot remove within the large drops, but then leave the background mostly untouched.
Videos I found useful for this technique:
- How to Create Colorful Artistic Images Using Oil and Water
- Macro at home idea: Easy, abstract oil on water tutorial – YouTube
- My FAVOURITE Macro at Home Idea (Easy tutorial with lighting, settings) – YouTube
- Oil & Water Photography Tutorial – Step by step for a fun bubble shoot at home! – YouTube
- Oil and Water Macro Photography – YouTube
- OIL AND WATER PHOTOGRAPHY – YouTube
- OIL IN WATER – Photography Tutorial 2020 – Step by step to the perfect image – YouTube
- Space Art macro photography using water and oil – YouTube
Tagged with: photography