Blog entries tagged with "photography"

Layering paper

Thursday, October 8th, 2026 at 10:24pm

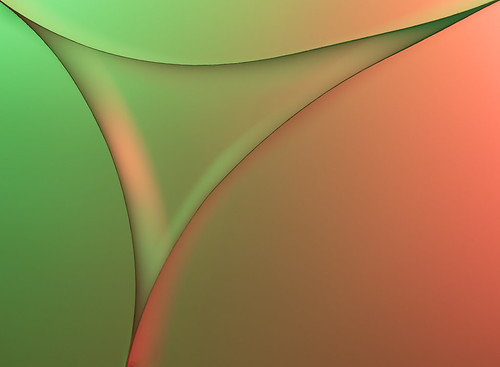
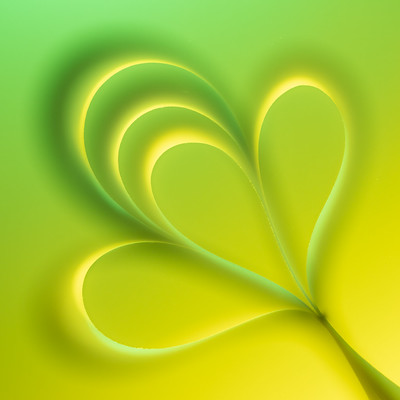
While I had things setup to take photos of paper strips on edge I also did a quick dabble with layering sheets of paper:

Layered paper (6) Layered paper (7) Layered paper (5)

While this did give some interesting results, they were not as interesting as what I got from the edges. I will still add it to my list of ideas and I did take enough images for a gallery, but I doubt it is something I would try again.

I saw one video about this technique:

Tagged with:

Paper on edge

Wednesday, October 7th, 2026 at 10:37pm

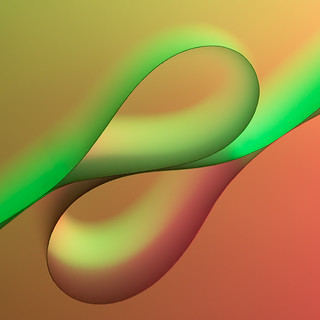
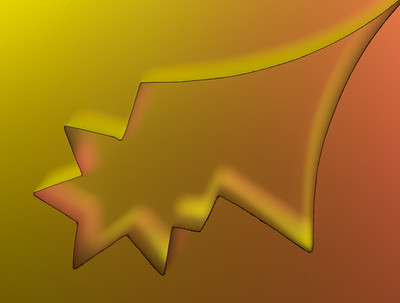
In my quest to work through my list of photo ideas I decided to cross of one that required minimal setup and equipment, abstract images of paper, specifically when placed on edge and lit from below.

Paper on edge (1) Paper on edge (15)

This is a similar setup to what I used for oil in water, but on the glass shelf I placed strategically shaped strips of paper:

Another difference is that instead of firing a single flash down onto coloured objects, I am using two flashes each with a different coloured gel. The colour of the gels, the locations of the flashes and the orentiation of the paper provide a lot of variety, though not at much as the very random soap bubbles.

In my first dabble I cut up strips of paper myself but it was a pain to get them exactly the same, so I picked up some paper for an impact receipt printer (known as Bond Roll). As well as being exactly the same width, these also come pre-curved.

Stapling sections together into loops lead to one style of shape:

Paper on edge (16) Paper on edge (17) Paper on edge (7)

Folds can be added:

Paper on edge (3) Paper on edge (10) Paper on edge (18)

Simple strips can be placed:

Paper on edge (4) Paper on edge (8) Paper on edge (20)

One effect that surprised me was whether I set the focus on the near (to the camera) edge of the paper or on the far (against the glass) edge of the paper. When near you get a dark line along the edge and the “glow” effect is generally towards the inside of the shape, while when far there is no dark line and the effect is outside of the shape.

Paper on edge (14) Paper on edge (22)

A downside of focusing on the far side meant that any dust on the glass would then be in focus, so those images ended up needing a lot of spot removal.

Across four different sessions I took around a thousand images, ending up with my final selection of twenty six: Paper on edge

Videos for this approach:

Tagged with:

Soap bubbles and thin-film interference

Thursday, October 1st, 2026 at 05:54pm

The latest item to cross off my list has been to photograph soap bubbles, specifically the patterns and colours that form on their surface. This has been fairly tricky to work out, but I ended up with a setup that worked for me.

With so much variance in the results I ended up with a lot of images and struggled to limit my final selection, so here is a gallery with sixty images: Soap bubbles

This was the setup on my kitchen bench:

The progression of a bubble is reasonably predictable:

  • bands of colour will appear at the top of the bubble and slowly work their way down
  • if you disturb the bubble (eg blowing gently) then you can mix up these bands, creating patterns or mixing across the whole bubble
  • the bright purple and blue will give way to a gold
  • eventually holes will appear gradually increasing in size
  • at any stage the bubble might just pop, so you start again…

Soap bubbles (37) Soap bubbles (1) Soap bubbles (6) Soap bubbles (23) Soap bubbles (51) Soap bubbles (58)

Soap solution
There is no consistent recipe for a good soap solution, all I know is that what I used has dishwashing liquid, glycerine and water.
Dish
The container you use to hold the bubble needs to be round and black, the suggestion of of a lens body cap worked out well for me.
Light
Have your largest smoothest light diffuser as close as possible to the bubble. I used one of those round springy ones. Initially I used a softbox, but the creases in its front diffuser would show up.
If using flash as I did, then have plenty of rechargeable batteries ready to be swapped over.
Blowing
Many videos show using a straw to blow and then manipulate the bubble. I had a length of aquarium air tubing which I used instead, it was much easier to only reach my arm into the small gap between the bench and the diffuser.
Focus
Place a pencil or similar object on your dish where the front of the bubble will be and manually focus on that. If you focus on the centre of the dish, only the edges of the bubble will be in focus.
Exposure
As I was using flash the shutter speed was at 1/250. I tried between f/11 and f/22, settling on f/16 at ISO400.
Patience
Be prepared to blow a bubble, gently manipulate it and constantly take photos, then repeat…

Soap bubbles (7) Soap bubbles (5) Soap bubbles (20) Soap bubbles (26) Soap bubbles (53) Soap bubbles (56)

In my final session playing with this technique I took over two thousand images, these were culled to eight hundred, and then I narrowed them down to the sixty. All the images have a boost to the exposure and clarity, as well as being cropped and rotated in some way.

The videos I found useful for this technique:

Tagged with:

Looking through oil and water

Monday, September 21st, 2026 at 04:07pm

When I posted about looking through my list and picking lightbulb on a tablet as the next thing to work on and important qualifier was having all the parts. I have actually gone through the entire list of ideas and created a list of things that I need to get before I could start.

I did try oil and water with a clear baking dish balanced on top of some small boxes, but this was both too precarious and I quickly found that I needed a better container that had less imperfections and/or lettering.

To have a better platform I wanted a piece of glass, but where is a convenient place to get a small piece of tempered glass? A glass shelf and there is an IKEA not that far away where I picked up an UTRUSTA shelf.

For the container I had gotten some interesting results from a round Pyrex jug, but I could tell that for the nice smooth results I needed something larger and with square sides. I normally don’t like using Amazon, but that was where I found some acrylic trays, these came in a number of sizes and are advertised as for organising makeup in a drawer.

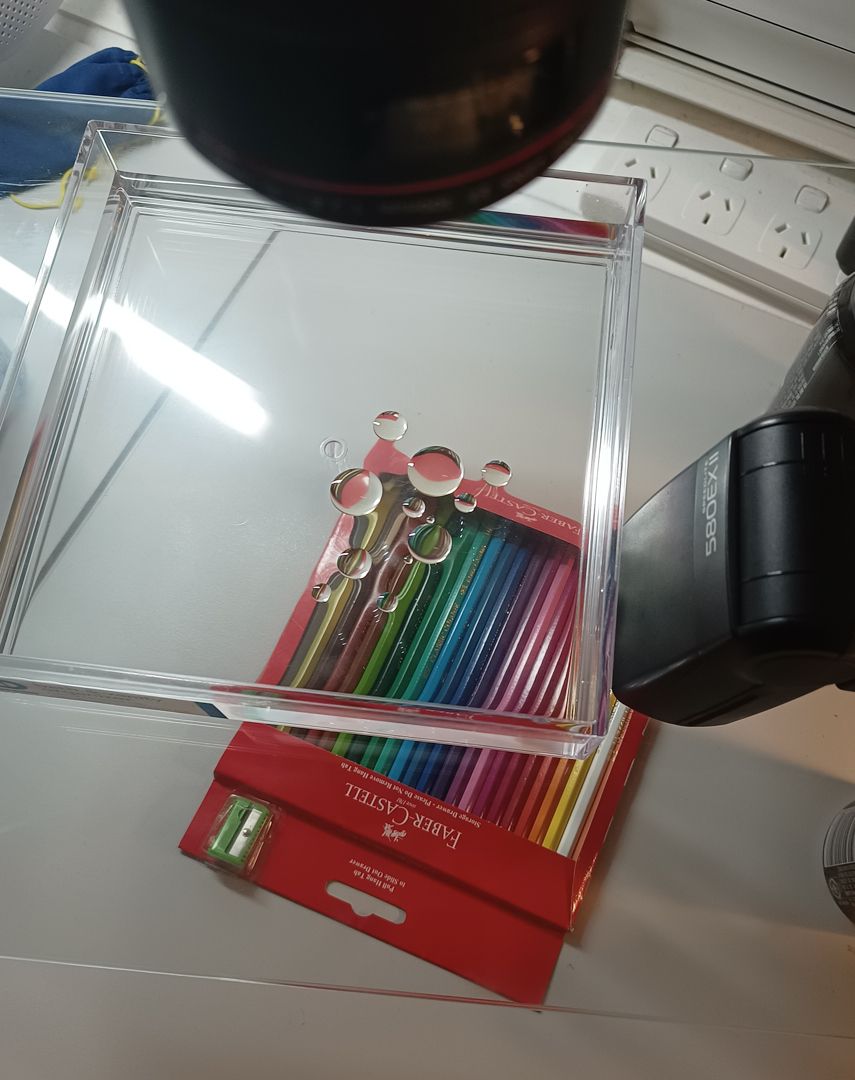
This was my final setup:

From the bottom up we have:

  • the grey surface of my desk
  • coloured objects, in this case a set of pencils
  • glass shelf raised up 13cm (four soft drink cans)
  • acrylic tray on the shelf (about half full of water)
  • flash (configured as a remote with ettl) firing down through the shelf
  • above the whole lot pointing directly down is my camera with macro lens, as close as possible to minimum focus distance
  • to the right is my desktop computer, I was shooting tethered over USB

Initially I tried using my tablet as the source of coloured/patterned light, but it just wasn’t bright enough. I had to raise the ISO much higher than I wanted, a larger tablet might give better results. I then tried a small continuous LED light but that also didn’t give enough light. The flash is what allowed me to keep the camera at ISO 100.

Over the course of three sessions I took well over two thousand images, after an initial purge that is down to just under a thousand, from that I have a selection of thirty two in a Flickr album: Oil and water

The technique I was using at the end was:

  • Start with everything completely clean, there should be no oil reside anywhere
  • Slowly pour water into the tray, don’t want any air bubbles
  • Carefully add a few drops of oil under where the camera is shooting
  • Focus on the drops, live view from my desktop PC made this easier to see
  • The drops will slowly drift around, maybe add a couple more, but mostly wait
  • Underneath the shelf add/remove/move the coloured objects
  • Periodically take photos, move the flash or objects around

As the oil drops are moving slowly you get more variance from shifting around the objects under the shelf. The last dozen or so images in my album are the same drops but with different objects, cropping and rotation, eg these:

Oil and water (31) Oil and water (25) Oil and water (29) Oil and water (32)

The mono one is just the grey desk surface, the red one is the shiny back cover of the pencil box, the blue/orange/grey is overlappting tissue paper and the more striped one is the pencils.

One disadvantage of this technique is that as soon as dust starts to settle on the water or you have added too much oil your must reset. Empty the tray and thoroughly clean it, then fill it back up with clean water.

Another disadvantage of this technique is that very quickly after the drops touch will they combine, which you can catch:

Oil and water (22)

To avoid both of these issues you can add a drop of dishwashing liquid which will lower the surface tension, clearing away the dust (as is seen in the Pepper and Water Science Trick – YouTube) and will also make the oil drops stay separate.

You can them get the clusters of small drops, but I didn’t like that you also have a dark ring around each drop:

Oil and water (3) Oil and water (18)

Stirring up the oil and water can introduce air bubbles, and in a deeper container can give interesting effects with large globs of oil on the surface and tiny bubbles and drops below:

Oil and water (8) Oil and water (9) Oil and water (10) Oil and water (12)

Post processing these images can be tedious, no matter how clean you have it, there was always specs or small drops that I didn’t want. For the ones where I wanted it smooth all over, I used the spot removal tool over everything. For others where there was a lot of activity I would spot remove within the large drops, but then leave the background mostly untouched.

Videos I found useful for this technique:

Tagged with:

Lightbulb on a tablet

Sunday, September 20th, 2026 at 04:16pm

While building and initial playing around with my DIY pixelstick was fun, I was stalled a bit because the next step was to go out and try it, but I needed to work out some locations and find some other people to assist. So I looked through my list and picked one that didn’t need much setup and I already had all the parts: clear object on tablet.

I had seen this around with people using clear plastic or glass objects lit from below by an image on a tablet. I don’t have any glass figures or ornaments, but many people were using lightbulbs, so last time I was at Bunnings I picked up a globe that I thought would be suitable.

The bulb had to be clear, it is a smaller size so there is less empty space within, the screw base was more interesting than a bayonet base, and I liked the long thin LED elements:

Lightbulb on Flow Stripe

To illuminate the bulb I needed some colourful patterns. The guides I had seen online suggested stock images or free patterns, but I decided to use my own images. I found about 20 images I thought would be suitable, ones with lines or shapes, and strong patterns or bold colours, and started to experiment.

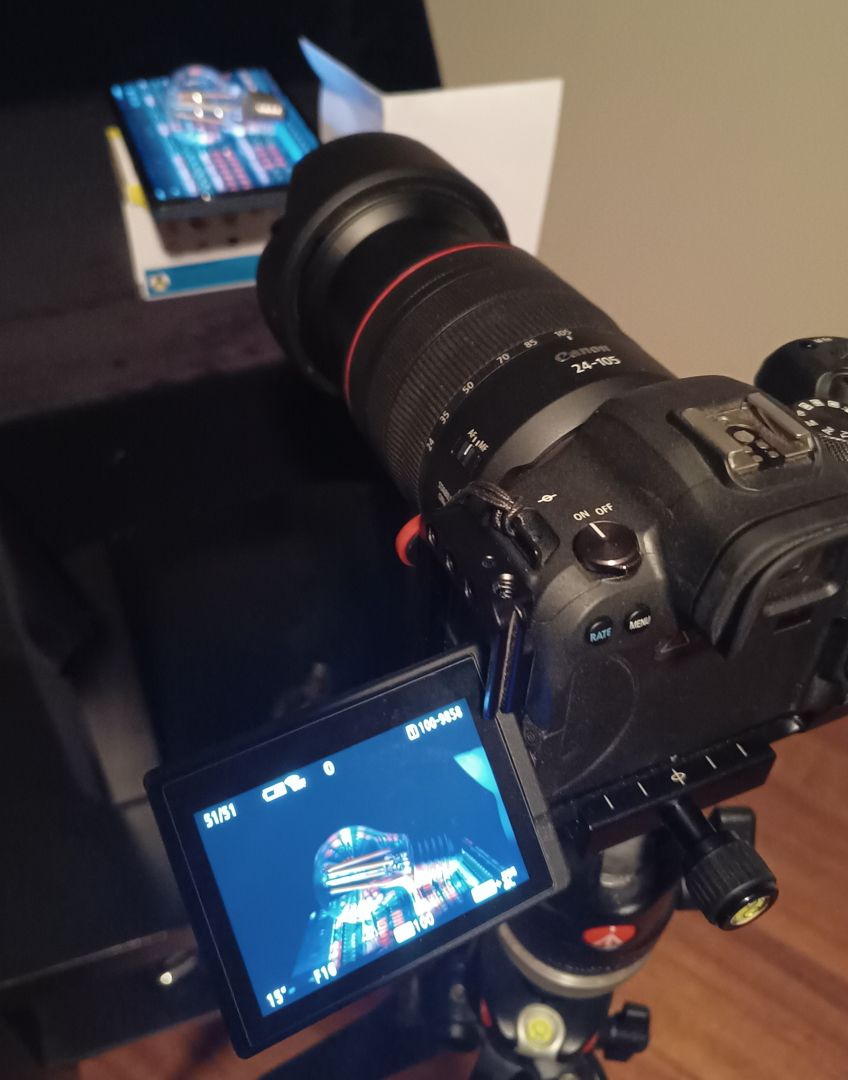
The setup is fairly simple, a small table with black cloth behind, my 8″ tablet with the bulb on top, camera on tripod in front:

The tablet is on another small box to raise it up a bit so the camera was at a more comfortable height, but that folded piece of white paper? That is there to bounce a bit of light back onto just the top of the screw threads, to complete their shape.

My first session of experimenting gave promising results. I had the table in different orientations, I changed the angle of the camera to the tablet, I rotated the bulb on the tablet, I zoomed in and out of the image to change its position in the bulb to get different effects.

In that behind the scenes shot above I was still using my regular 24-105 lens, but I later switched to my 100mm macro lens which gave a clearer result that was easier to focus. The final images were taken at f/16 ISO100 for (most at) 10 seconds, so I am glad I picked up a bluetooth remote so I could move away from the setup during the exposure?

Why stay away? The lightbulb is glass and metal sitting on the glass front of the tablet, this is very slippery and any slight movement from the floor would cause the bulb to shift. Initially I had a small piece of blutack behind the threads, but you could see that in the final shot, so I 3d printed a little black arm that came out from behind the tablet and stuck to the back of the threads with blutack, even then the bulb would slide around a little bit.

All of this led to the second session where I knew the setup that I wanted so I worked my way through all of my chosen images on the tablet. Once I had those images in Lightroom I selected the best dozen and then got to work tweaking their sliders (all of them got a lot of clarity) and a decent amount of spot removal

Those dozen images are in my Lightbulb on a tablet album. The description of each image has a link to the image that was being displayed on the tablet. I couldn’t decide between two images that used Sockets, so I included them both.

Lightbulb on Sockets (1) Lightbulb on Sockets (2)

This also means that this item is completed, I have crossed it off the list.

Some videos I found useful for this were:

Tagged with:

Putting together a DIY Pixelstick

Friday, September 18th, 2026 at 08:31pm

The first item I decided to cross off my list was light painting with a pixelstick. This is one of the more ambitious projects as it first requires me to build the stick, but that is appealing as it is just more problems to solve, and if all I got done was the pixelstick, that could be my entire portfolio.

I have taken photos of a pixelstick before, back in 2015 when on a photo walk one of the other people had one, so along with photos of fire I have these:

Leading

Complete   Partial

Some years ago I purchased some RGB strips to make my own pixelsteick, but then that project never went anywhere, so the first step was to find the parts I already had. Once found I hooked the strip up to a D1 mini (my arduino of choice) and loaded up a example sketch for the Adafruit NeoPixel library:
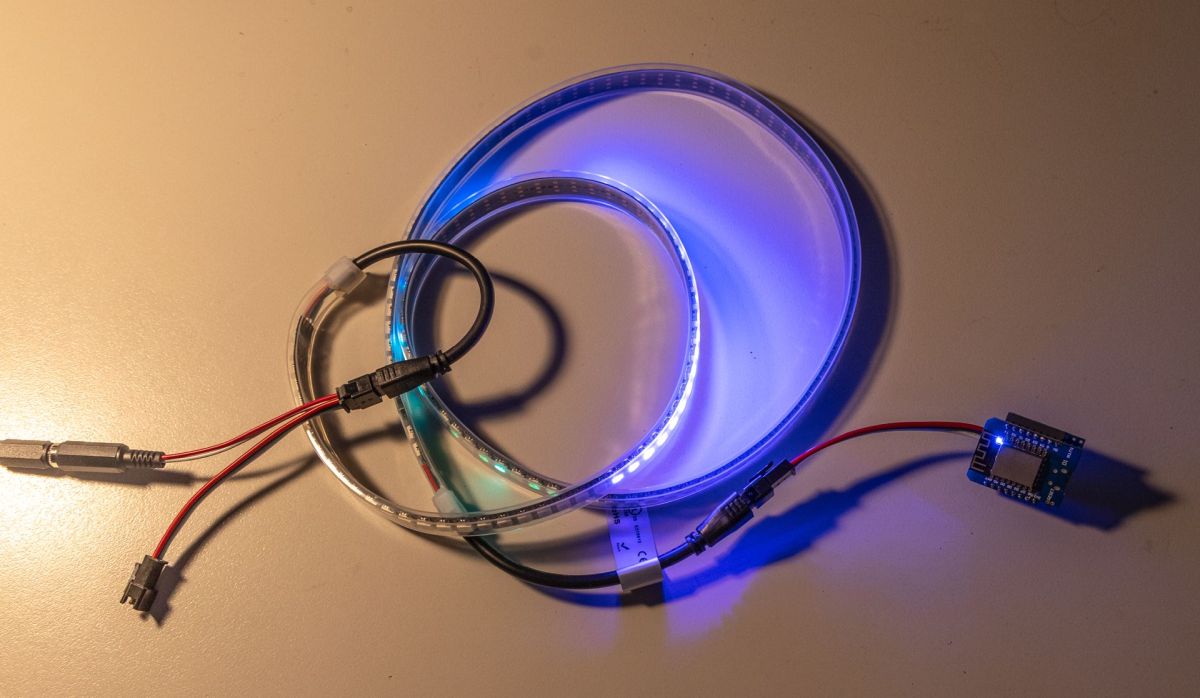
I now returned to research mode and repeated by search for DIY pixelstick projects, I found a few different ones, I think I ended up using something (even if just tips) from all of them:

I also learned more about the WLED project and while it didn’t appear to be useful for the light painting of specific images, it did look like an easy way to get random patterns. So now I had two parallel paths, one to paint predetermined images and another to generate random patterns.

The loose LED strip needed to be attached to something and also needed to be portable, this was achieved using cable ties, a garden stake and a USB battery bank:
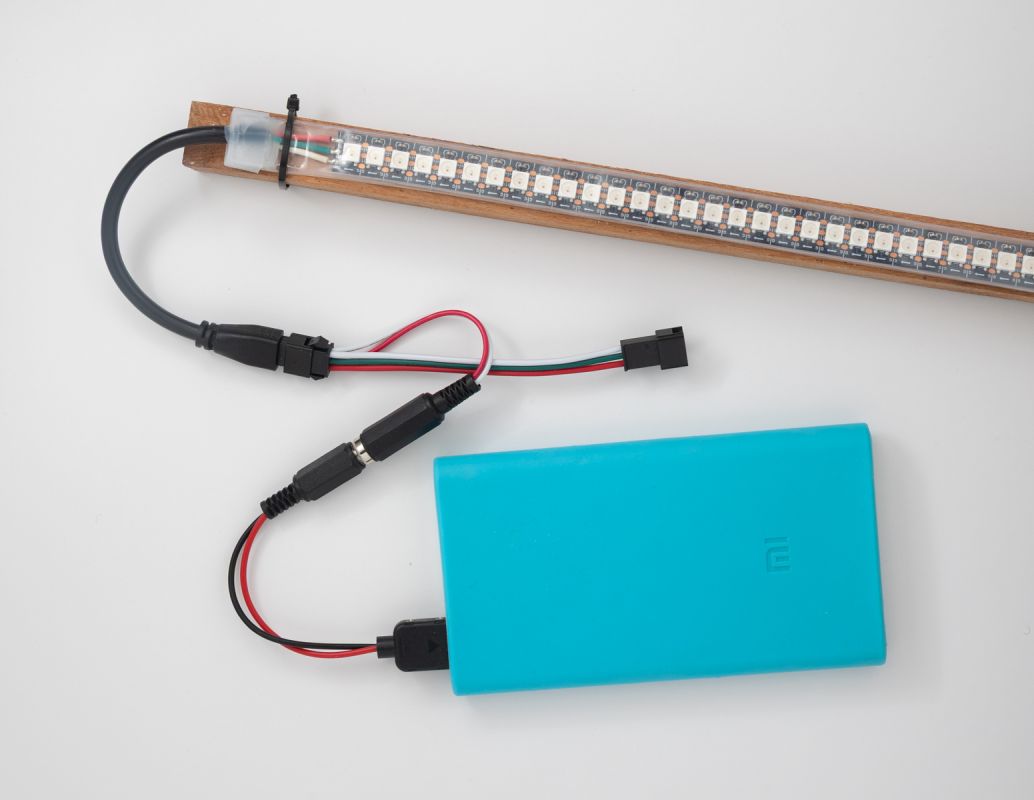
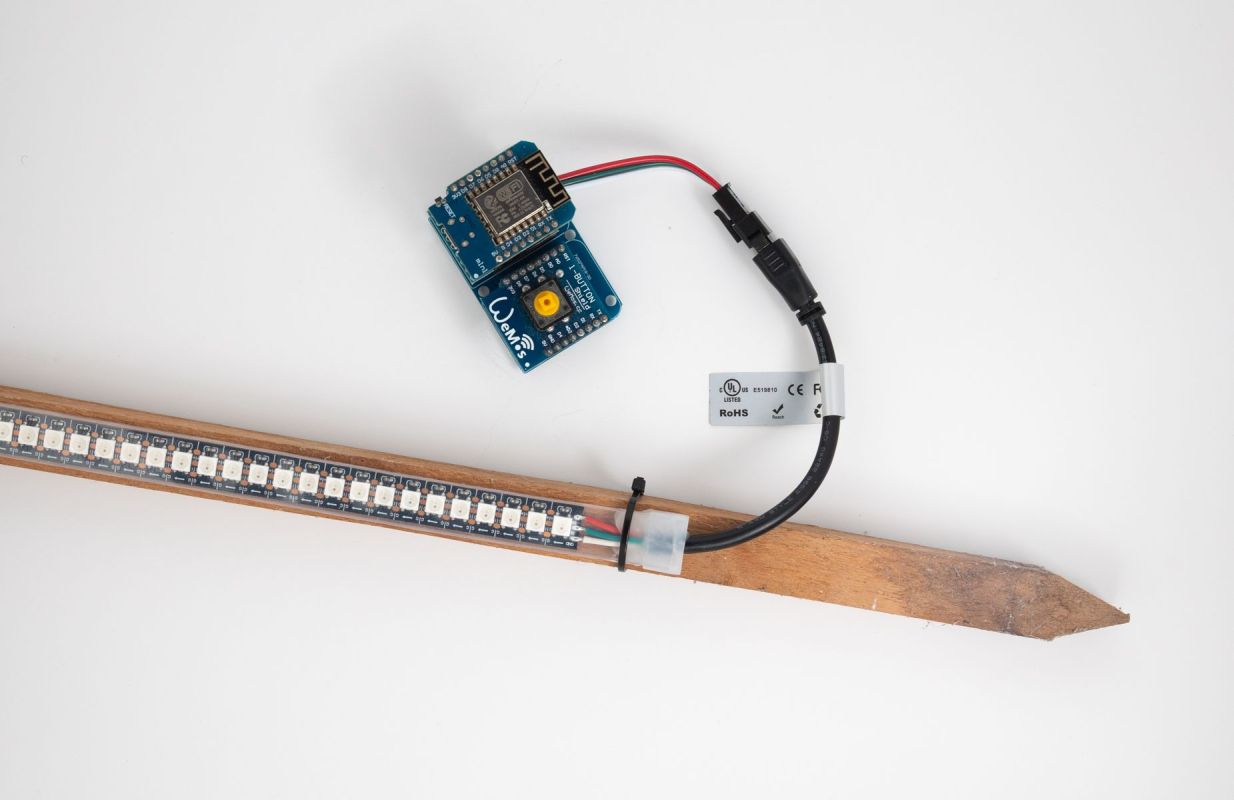
I set my camera up on a tripod in my lounge room, guessed at some settings, and was able to capture the proof of concept:
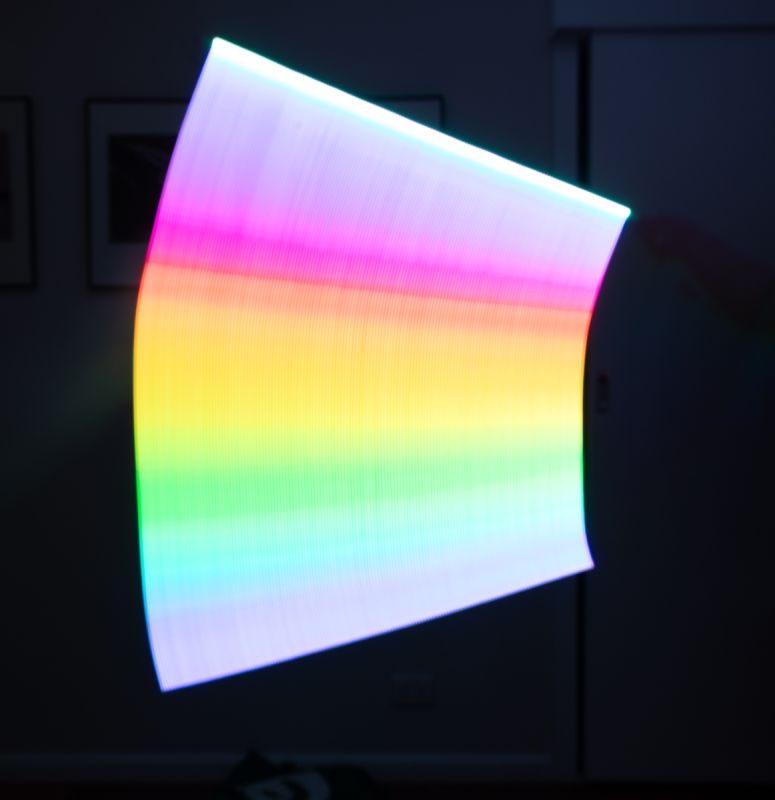
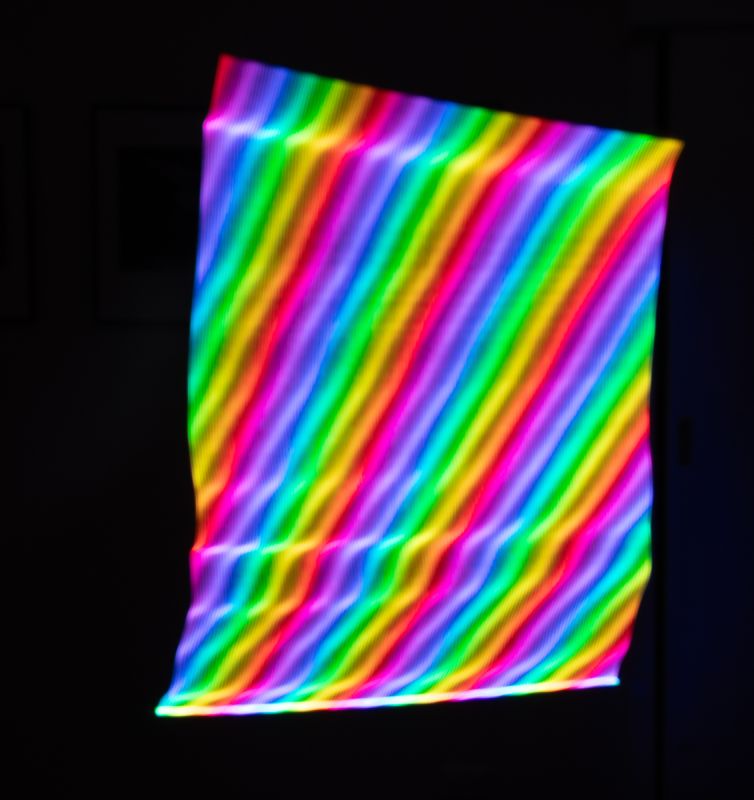
This was going to work so I visited Bunnings for some parts and ordered others oneline. While I waited for delivery I also tinkered with the software side, I ended up using Lighty as the starting point, but refactored it to both learn how it worked and to be used with my choice of hardware.

Parts that I was waiting on included:

  • different styles of LED channel and different diffusers for those channels
  • inline USB power switch
  • newer smaller USB battery bank
  • extra 3 Pin JST SM Male And Female Connectors
  • more LED strips but just the bare strip (not in the waterproof casing like the one I had)

I also realised I could order an off the shelf small ESP32 based WLED controller, which would be nice for the WLED version of the stick.

To hold different components securely together, I 3d printed some brackets, giving me my version 1:


This version is robust enough that I could then walk back and forth across my lounge room, switching the next WLED effect each time to produce my own catalog of the effects:
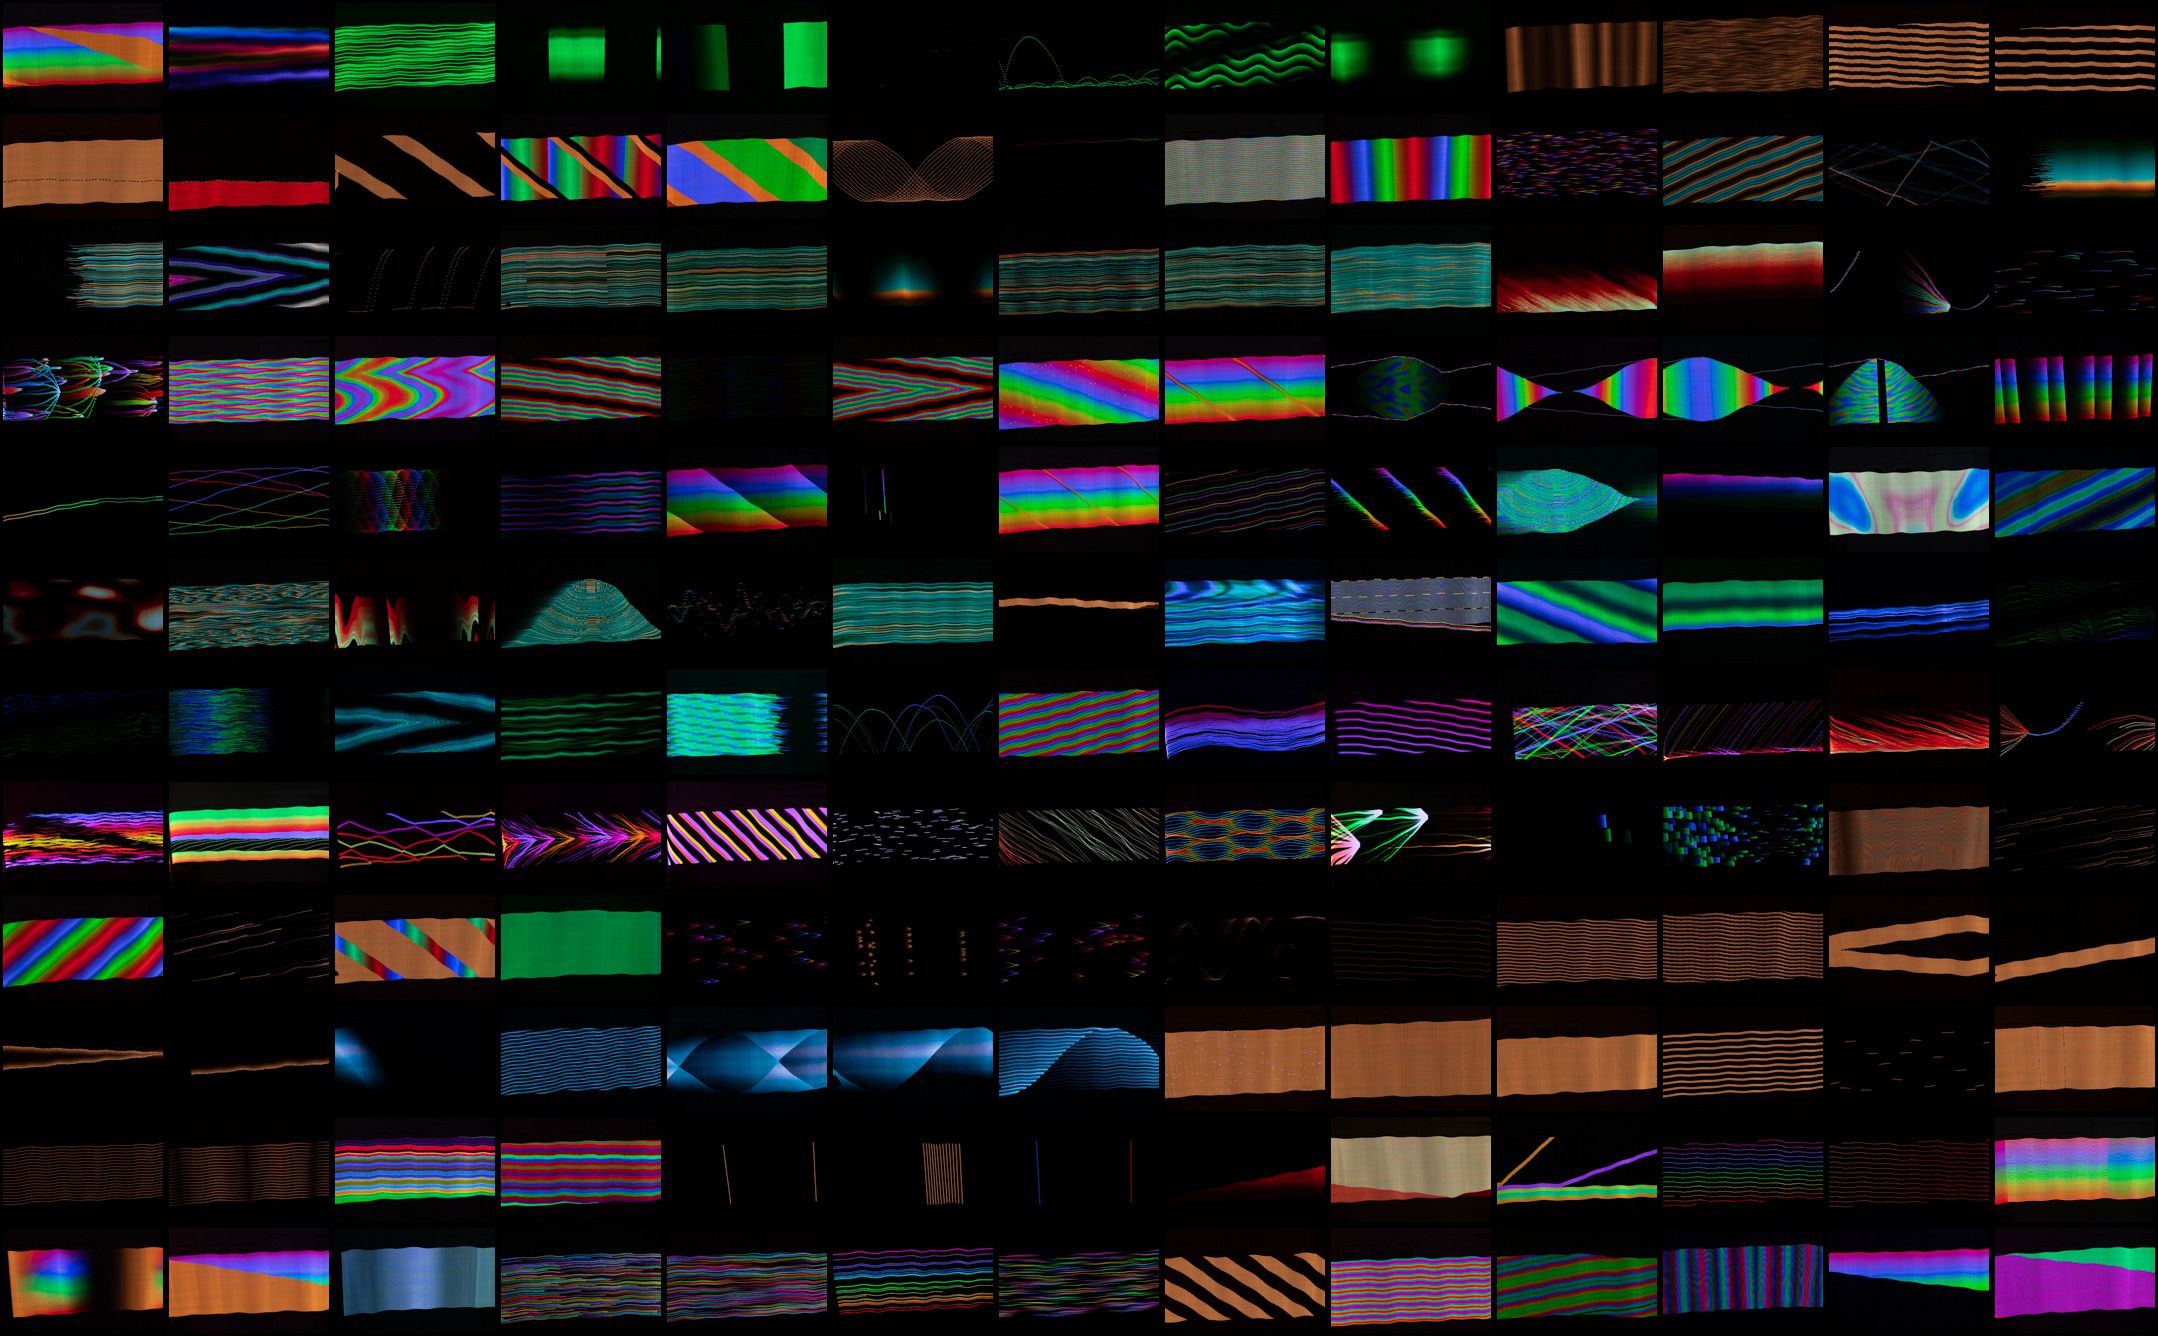
From these I selected a few that I liked as patterns, then experimented with using those while waving the stick around in front of the camera:

Flow Stripe 7 Colorloop 4

From these experiments a selection of thirty are in this Flickr album: DIY Pixelstick – WLED based patterns

Some of these abstract shapes were made with the bare LEDs, while others had a frosted diffuser. In this context I prefer the sharp lines made by the LEDs, but when the lighting is just an effect around another subject the frosted effect might be better, that is also what the commercial and other diy versions are doing.

Improvements I have planned for this version are:

  • smaller strip of wood, or maybe aluminum channel (once final it will be painted black)
  • handles of some form, but don’t know what shape or position yet
  • maybe a different shaped battery, eg something long and round, such as would take 16650 li-ion cells

On the software side this will use WLED, but I will configure it so the single button on the controller can be used for certain actions, eg single press to turn on or off, double press to cycle through presets.

The other version of the stick (using preloaded images) is also coming along. I am keeping this self-contained with and SD card reader, small screen and input buttons. The current version looks like this:
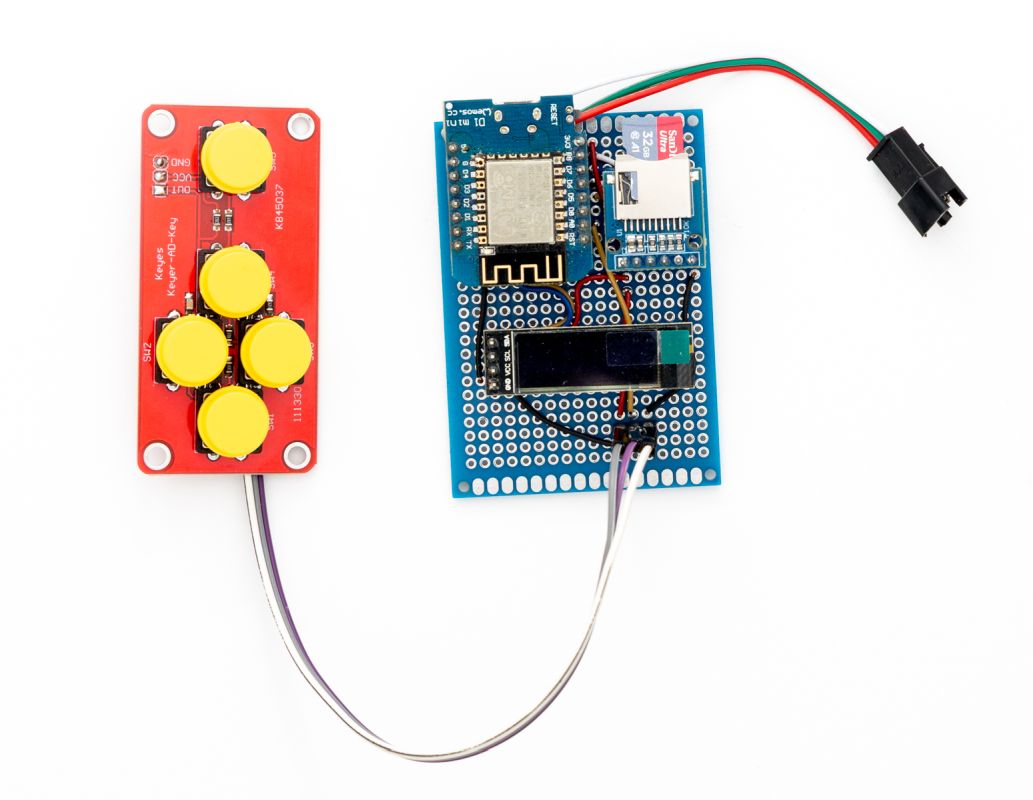
And is able to produce these:
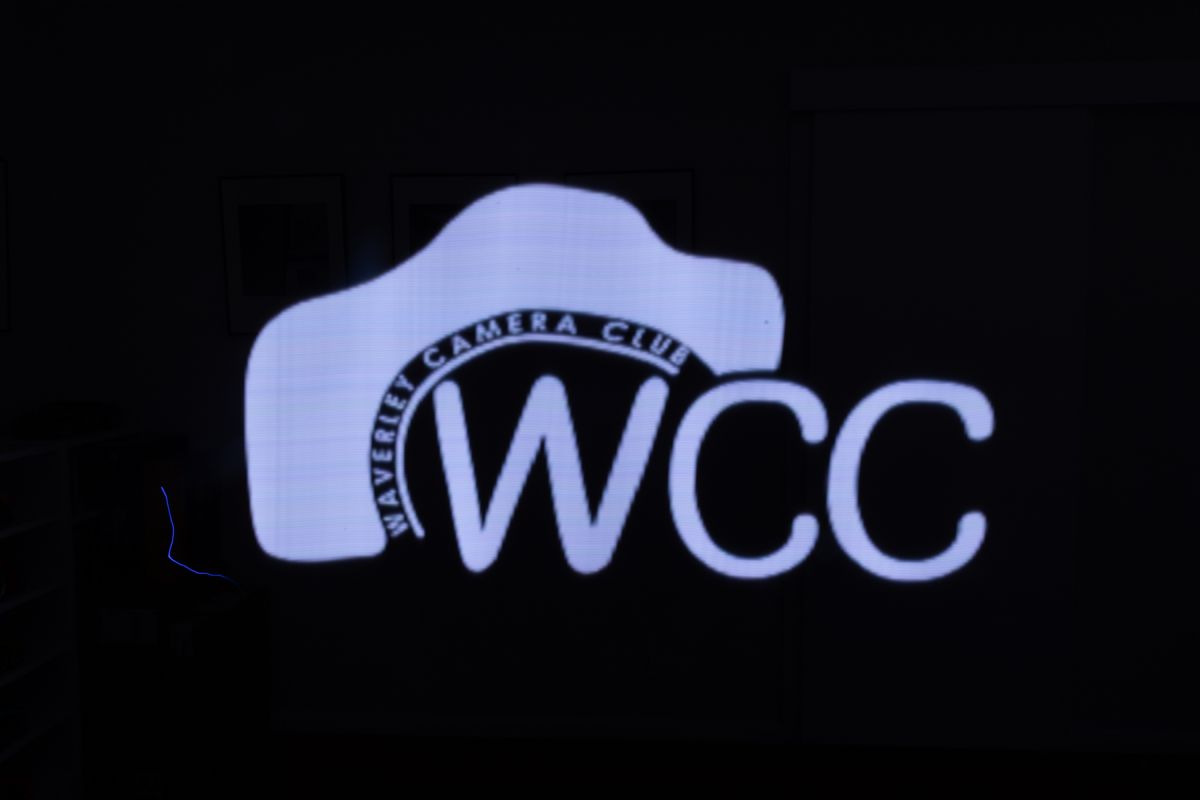
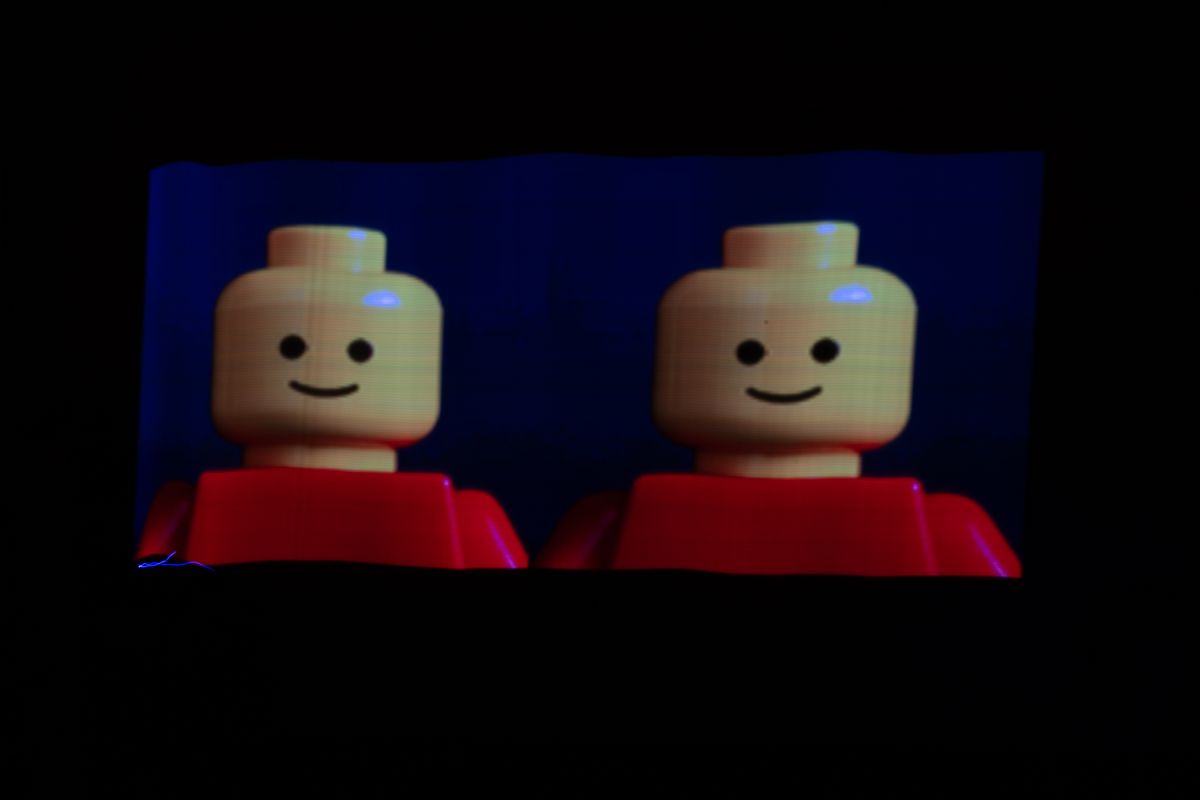
For now I have put this on hold until I work out some suitable locations to try it out.

Tagged with:

A list of photo ideas

Thursday, September 17th, 2026 at 07:22pm

For a long time I have had a list of photo ideas written down in a notebook. Many of them have come and gone as fads/trends on social media and as they can also mostly be done at home with minimal equipment a number of the peaked during lockdowns.

I have done a couple of them before, so those I want to revisit, and the others I have wanted to try for the first time.

The list:

(if an item is a link, then I have a followup where I have done that one)

At the camera club we have a portfolio group and I decided to do a portfolio this year, but what would the subject or theme of my portfolio be? My ambitious idea is make this list the theme, work though as many items as a possible showing the result and behind the scenes. My fallback idea is to take one item from the list and focus on that…

Tagged with: ,

Digging deep into the backlog

Thursday, July 2nd, 2026 at 07:20pm

Later this month I am heading up to Sydney and have built in three full days to wander around with my camera. As well as researching new places to go I was also looking back at my past photos, only to find that on a previous trip in 2008 (the early days of me having a DSLR) I had only done something with two images, and then left the rest.

While there were no spectacular shots, there was enough there to end up with a decent selection so I put them up as an album: Sydney 2008

Rising behind

I then looked further into my older photos and found a few more trips or events where I had more unprocessed photos, so I worked my way through them and put up four more albums:

Connecting rods Floating over the sunrise

Old navigation aid From the hide

My photos after these have been suitably processed, so now I need to get back to what I have taken over the last year.

Tagged with: ,

Is time still broken?

Thursday, March 16th, 2023 at 10:39pm

On one hand time doesn’t seem to be moving, but another year has passed which makes it three years of working from home.

This means that work has been the ongoing constant, while stuff outside of work has been gradually picking up, but in fits and spurts. The first few months of the last “year” (ie March to July) had the comedy festival (with an increase in international acts), a weekend at Phillip Island, the Kakadu trip and then I bought a new camera just before Open House Melbourne. There was a bit of a lull until the end of the calendar year where I didn’t do much apart from some photography and comedy events. So far in 2023 things have been picking up and I have managed to get out with my camera a few times (but haven’t yet processed the photos) and the demolition of the house next door (a new double storey house should be complete by the end of 2023) has prompted me to start acting on some overdue house projects such as getting the garage roof replaced.

However the biggest “return to normal” is that for the last three days I have been heading into the city for an in-person conference. After LCA ran online for two years there wasn’t one this year, instead there was Everything Open. There has been some spirited discussion about the change of name/focus, but will touch on that in a separate post which I aim to write in the next couple of days once I have had some rest…

Tagged with: , ,

Playing with panorama

Sunday, May 16th, 2010 at 04:55pm

Every so often when out taking photos I will take a series of shots with the intention of combining them into a panorama.

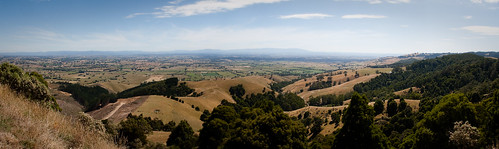
A few months ago I submitted the following image at the camera club as a landscape:

From Mount Worth

A couple of people commented that a panorama from the same spot may have been better. As it turns out, I had taken a series of shots from a short distance away:

From Mount Worth (panorama)

This was the result of feeding four images into AutoStitch, copying over some EXIF data (camera model, exposure, GPS) and then straightening and cropping in Lightroom.

The AutoStitch interface is a bit clunky, but it at least didn’t crash and/or hang when trying to save the output, which is what Microsoft ICE was doing.

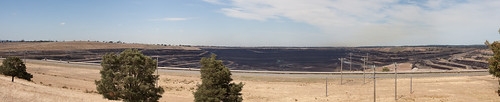
I also created some other panoramas. Two from the same day as Mount Worth, of open cut coal mines:

Loy Yang Open Cut (panorama)

Yallourn Open Cut (panorama)

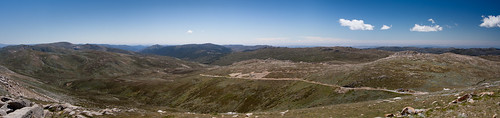
Then two from the walk up Mount Kosciuszko:

North from Kosciuszko (panorama)

Australian Alps (panorama)

The effort needed to create these was quite small, while the result is quite acceptable. I have been told that I could get an even better result from the stiching tool within PhotoShop, but I don’t use PhotoShop.

Once I work out an acceptable/affordable method of printing images larger than 8×12″, I will consider submitting a panorama as a competition entry.

Tagged with: , ,

Experimenting with macro

Wednesday, April 21st, 2010 at 09:57pm

At the camera club last night we were discussing macro. After a discussion on what macro is and the various ways of achieving it (macro lens, extension tubes, a close up lens, reversing the lens, etc) we broke out and started to shoot the variety of items that were brought along.

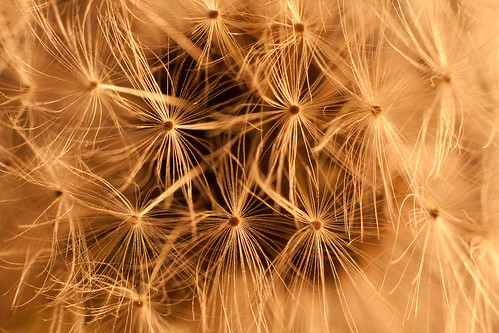
I don’t have a macro lens, but I was able to borrow a set of Kenko extension tubes which I used with my 50mm lens. I didn’t keep many shots from the night, but I started out shooting a Dandelion clock lit by an external light:

Parachutes

With the extension tubes using autofocus was pointless so I switched to manual and focused by moving the entire camera back and forth. I also quickly switched to using and off camera flash (triggered by an ST-E2 so I had TTL)

Dandelion clock

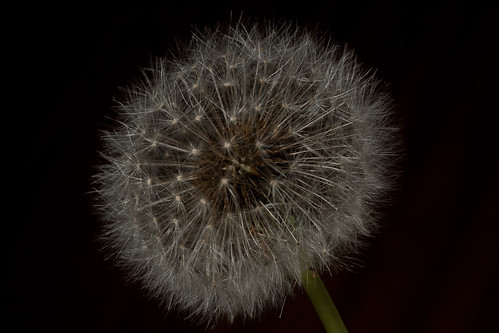
However, I found that shooting the flash through the object from below gave more interesting results:

Clock lit from below Feather
Tiny flower Open the pod bay doors, HAL

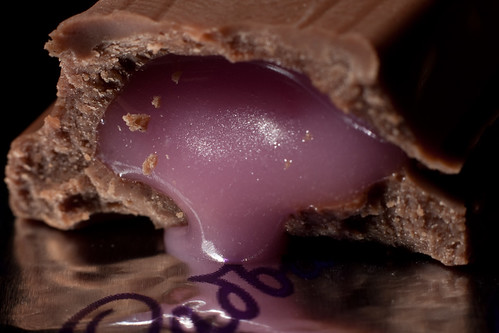
Although these are quite interesting and deserve further experimentation, my favourite shot was more conventionally lit:

Mmmm... Gooey.

Of course to experiment further I will need some more equipment. While I cannot justify an actual macro lens, a set of Kenko extension tubes are quite affordable…

Tagged with: , , ,

Two ways to shoot star trails

Thursday, March 18th, 2010 at 11:24pm

Last weekend a couple of us from the camera club went down to Wilsons Promontory. Apart from shooting landscapes of the coastlines and beaches, the sunset from Whisky Bay, we also shot some star trails.

The first method I tried was new to me: shoot a number of 30 second exposures and then combine them later using software.

With my camera in continuous shooting and set at 17mm, f/4, 30 seconds and ISO1600 I locked down the shutter button on my cable release and left the camera alone for a while. By locking down the button (and having long exposure noise reduction off) the camera would keep going until I stopped it, the battery went flat or the card filled up.

My third attempt of the night resulted in 70 images, which when run through the Startrails application gave me this:

Tidal River star trails (70 x 30 seconds)

If you look closely you can see that the trails are not smooth lines, and that I should have been able to setup the camera better.

A bit later in the night we moved down to Tidal River itself where I switched back to the traditional single long exposure. I took two shots (this time at ISO100), one for 10 minutes and another for 17 minutes. This is the 17 minute one:

Tidal River star trails (17 minutes)

As I was doing such a long exposure I turned the noise reduction back on. Which meant that this 17 minute exposure needed a second 17 minute exposure. Coincidentally a total time of 35 minutes, the same as 70 x 30 seconds.

Next time I’m shooting star trails, I am going to go with the multiple exposures.

Tagged with: , , ,

Catching the ISS go by

Monday, February 15th, 2010 at 10:51pm

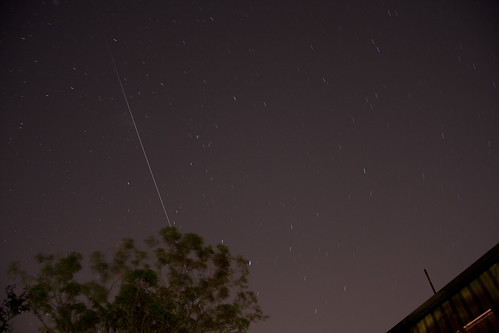
Earlier in the evening I stood outside on the front lawn in the dark for about half an hour. The result was this:

ISS over Melbourne

That is my first ever shot of the International Space Station passing overhead.

For a while I have been wanting to capture a shot of the ISS, yet I either didn’t find out about a visible pass, or I found out too late. This is despite knowing about the excellent Heavens-Above which lets you enter your location, and it will tell you whatever you want to know about objects in the sky. You can get a whole sky chart (which I looked up for the WCC star trails attempt earlier in the year) or a list of when an object such as the ISS is making a visible pass. This time I have a timely tweet from Wolf Cocklin to thank.

Now, the photo above isn’t that great as shots of the night sky go (a Flickr search for ‘iss’ returns impressive images), but for a shot taken from suburban Melbourne with plenty of light pollution, I am happy with it.

The actual pass was quite short so I took a few test shots so I would know what setttings to use, plus

As I didn’t know exactly where in the sky the ISS would appear or what it would actually look like to the naked eye, I first took a few test shots before aiming the camera up and to the south-southwest. The tests can be seen in the ISS visible pass (15 February 2010) Flickr set.

As there are other visible passes of the ISS for the next week I will attempt to catch it again, weather permitting.

Tagged with: , , ,

What happened to January?

Monday, February 1st, 2010 at 10:17am

Today is the first of February and I have realised that for the first time since I started blogging in September 2003 that I have gone for an entire month (ie January) without making a post.

That does not mean I haven’t been doing anything.

In fact it is the opposite as January was, for me, quite busy. Now, although I haven’t written any blog posts, those who follow me on identi.ca, twitter or facebook would be aware of at least some of what I have done.

The highlights:

Amongst all of this I have scanned thousands of slides (my parent’s from the 60/70s) and made decent headway into sorting through my own backlog of photos (which increased markedly due to the Snowy Mountains road trip). I should be able to start posting some of the latter (starting with the club outing to Mount Macedon back in July) later in the week.

I hope.

In addition I have a couple of semi-formed blog posts that I should get around to completing, one that is still fresh in my mind is how something that I was relying upon for backups, is actually dangerous to use for backups. I should also have one of those published by the end of the week and I will also try to post on a more regular basis.

I promise.

Tagged with: ,

A smaller, more portable tripod

Monday, August 10th, 2009 at 11:10pm

Don’t get me wrong, I am quite happy with my Manfrotto 190PROXB tripod with 486RC2 ball head that I have had since last November, but since the last camera outing I have been thinking about other options.

The tripod is excellent when I have used it for table top stuff at home (or the camera club) and on outings where I know that I will use it and there is an option of leaving it somewhere. But what about when I am doubtful that I will use it and/or I will have to carry it with me all of the time.

An example of the former is the third Melbourne Photo Walk where I carried my tripod for the entire walk because I knew that afterwards I would be taking some long exposures afterwards. While on the recent camera club outing to Melbourne’s laneways and arcades I decided before I left home that I would not take the tripod, which proved to be the right decision.

Even so, there where a couple of times that a tripod would have been good. So I have been looking at a Joby Gorillapod, specifically (due to the weight of my camera) the SLR-Zoom.

Although it wouldn’t fit in my current bag (a Lowepro SlingShot 100AW) I should be able to attach the SLR-Zoom to the outside without it getting in the way. But there is still a problem, how do I attach it to the camera.

Despite the marketing images, the SLR-Zoom only has a flat top with the thread attachment. The pictured ball head is an additional purchase which almost doubles the price from US$50 to US$95. Even then I wouldn’t be able to attach it to my camera, as I always leave the RC2 plate attached. So this gives me two options:

The 484RC2 will probably be the most cost effective option, and I regret now selling the one I had for a few months last year. Oh well, I should be able to get another one.

There is also plenty of discussion around using the Gorillapod, the Gorillapod Love Flickr pool for one with some examples of the 484RC2 in use.

In addition to holding the camera, the Gorillapod could also come in handy for holding my external flash. I could simply attach the foot that came with the flash to the second RC2 plate…

Tagged with: , , ,

My “nifty fifty”

Monday, December 8th, 2008 at 10:59pm

The Canon EF 50mm f/1.8 II lens that I bought secondhand arrived today. From a quick test it appears quite nice.

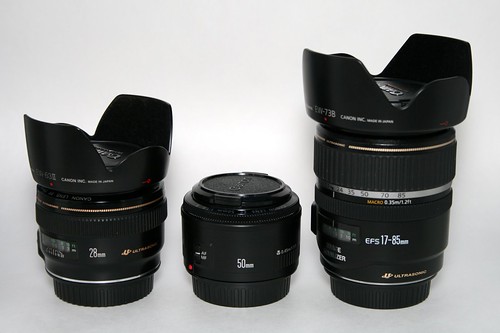
I also took the opportunity to take a photo of my current lenses, ie the three that I keep in my camera bag:

Canon EF 28mm f/1.8, EF 50mm f/1.8 and EF-S 17-85mm IS lenses

These are the 28mm I got back in May, the “nifty fifty”, and the 17-85mm IS I got in March.

Tagged with: ,

Photos from OSDC2008

Sunday, December 7th, 2008 at 10:29pm

I have just finished sorting through my photos from the conference and have uploaded the better ones to Flickr in a set for each day:

Almost all of them are of people in between the talks or in the evening at the dinner or at various pubs.

The photos I took of presenters as they were presenting didn’t come out the best, the 50mm f/1.8 would have been very nice. Despite this I am glad that I resisted the impluse to go and buy one as I ended up being the winning bidder for a secondhand one, at half the retail price.

Of all of the photos, this one requires to be singled out:

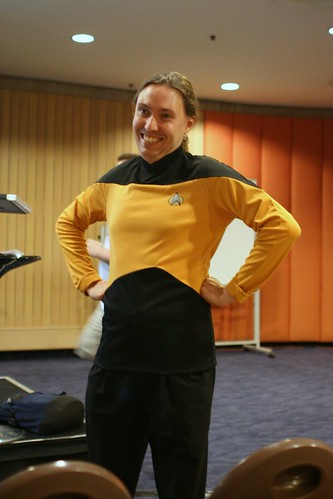
Paul dressed up for his talk

I have a lot more other photos from Sydney. I should be able to sort through them soon.

Tagged with: , , , , ,

OSDC2008 begins

Wednesday, December 3rd, 2008 at 02:34pm

It’s now part of the way through the first day of the conference (ignoring the pre-conference hackathon which sounded interesting, but I have heard that a laptop was essential) and it is going quite well. My tiredness from yesterday aside.

I have been taking a few photos but I’m finding that this is another situation where my 17-85mm isn’t fast enough and my 28mm is too wide. There is a Ted’s down the street and they do have a 50mm in stock. I’m tempted.

Tonight is the conference dinner and the 28mm will be better for that.

Tagged with: , , ,

Eight hours of walking and photos

Tuesday, December 2nd, 2008 at 10:53pm

My journey to Sydney ended at 2PM when I checked into the hotel. After a brief rest I walked around the corner to the conference venue and registered instead of waiting until tomorrow morning.

Then I started walking … and didn’t stop until 10PM.

I had a bridge climb scheduled for 5PM so I first spent a couple of hours walking down there. Via parks (eg Hyde Park and the botanical gardens) to the opera house, taking photos as I went.

Then there was the actual bridge climb which is 3.5 hours long.

As it was dark by the time I left the bridge climb I spent some time taking night shots with my tripod around Dawes Point (under the bridge) and Circular Quay.

This was topped off by walking back to the hotel.

My feet aren’t quite happy. But the climb was worth it and I’ll find out about the photos once I get then off the camera.

Tagged with: , , ,

An Apple IIc with LCD (and another tripod)

Thursday, November 27th, 2008 at 10:07pm

A big box was waiting for me when I got home tonight. It contained this:

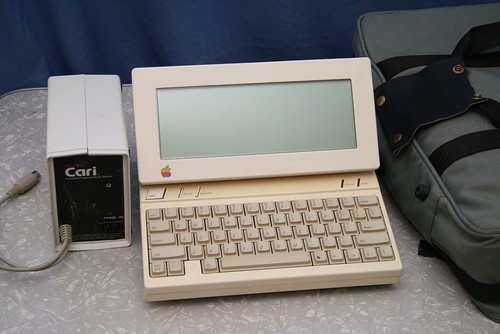
Latest addition: Apple IIc with LCD, battery pack and carry bag

Yes, the latest addition to my collection is another Apple IIc. But this one includes the elusive LCD screen, an external battery and a carry bag for it all.

I keep putting off sorting through my collection and my current plan is to (when I get around to it) focus on specific items. This is one of them.

However, there wasn’t just one box waiting for me. After my dissatisfaction with my tripod at the WCC outing I was looking at eBay for a current model tripod and a 486RC2 head. On impluse I tried the ‘make an offer’ feature on an eBay listing and it (specifically a 190XPROB tripod) was accepted. That is what was in the second box.

Unfortunately I was a bit too enthusiastic as before I made an offer for this tripod and head, I had placed a bid for the same tripod, but just the base. As I expected the price to go above my max I wasn’t concerned. But I ended up winning it, by AU$1. So who wants to buy a tripod? Either an old but as-new 190 or a brand new 190XPROB… there is also the 484RC2 head… (I am confident that I will be able to make my money back by listing them back on eBay)

Tagged with: ,