Putting together a DIY Pixelstick
Friday, September 18th, 2026 at 08:31pm
The first item I decided to cross off my list was light painting with a pixelstick. This is one of the more ambitious projects as it first requires me to build the stick, but that is appealing as it is just more problems to solve, and if all I got done was the pixelstick, that could be my entire portfolio.
I have taken photos of a pixelstick before, back in 2015 when on a photo walk one of the other people had one, so along with photos of fire I have these:


Some years ago I purchased some RGB strips to make my own pixelsteick, but then that project never went anywhere, so the first step was to find the parts I already had. Once found I hooked the strip up to a D1 mini (my arduino of choice) and loaded up a example sketch for the Adafruit NeoPixel library:
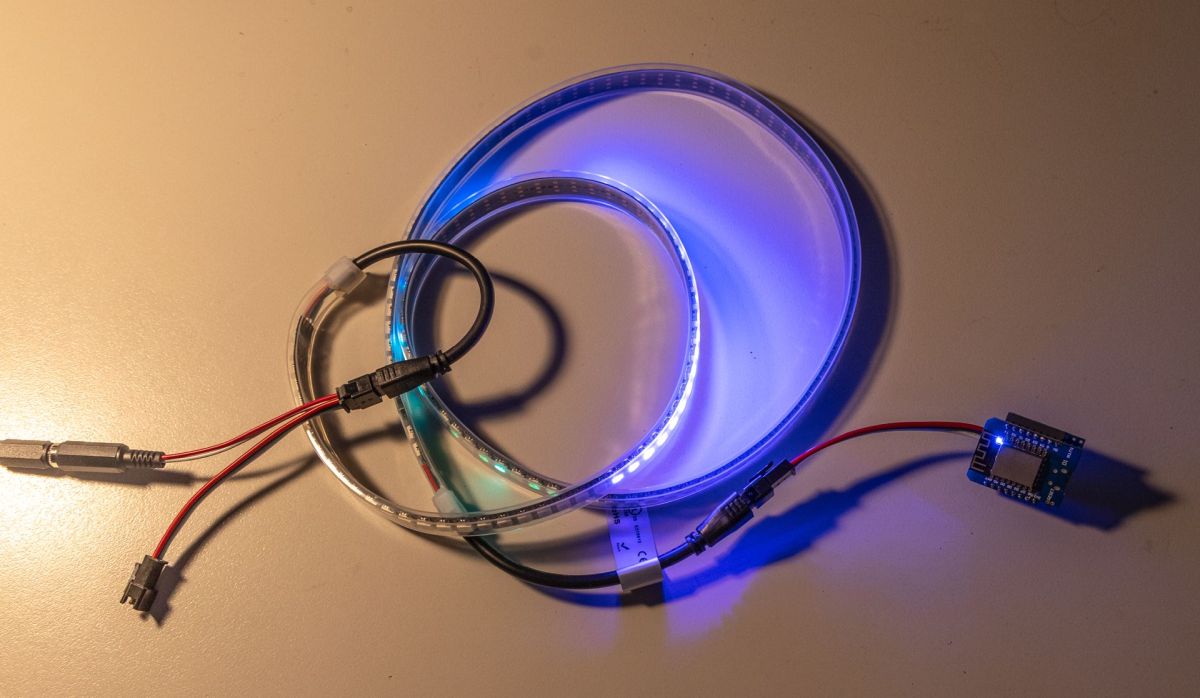
I now returned to research mode and repeated by search for DIY pixelstick projects, I found a few different ones, I think I ended up using something (even if just tips) from all of them:
- DIY Pixelstick : 6 Steps (with Pictures) – Instructables
- DIY Pixelstick with image processing – YouTube
- LucasBerbesson/pixelstick: How to make a light wand · GitHub
- How to Build a DIY ‘Pixelstick’ for About $22 | PetaPixel
- Lighty – a pixelstick on the cheap | Dirk Essl
- Pixel Stick – WiFi controlled light wand using Arduino and WS2812 LED – Gadgetronicx
- Pixelstick Alternative! Budget Lightpainting : 6 Steps – Instructables
I also learned more about the WLED project and while it didn’t appear to be useful for the light painting of specific images, it did look like an easy way to get random patterns. So now I had two parallel paths, one to paint predetermined images and another to generate random patterns.
The loose LED strip needed to be attached to something and also needed to be portable, this was achieved using cable ties, a garden stake and a USB battery bank:
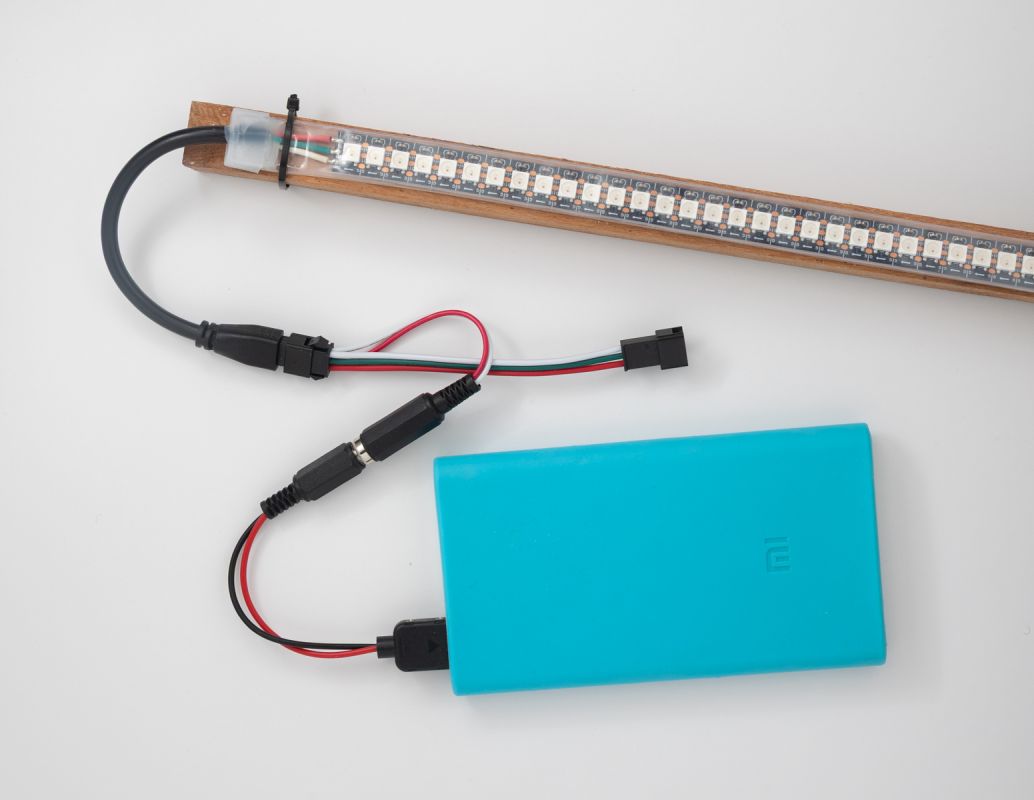
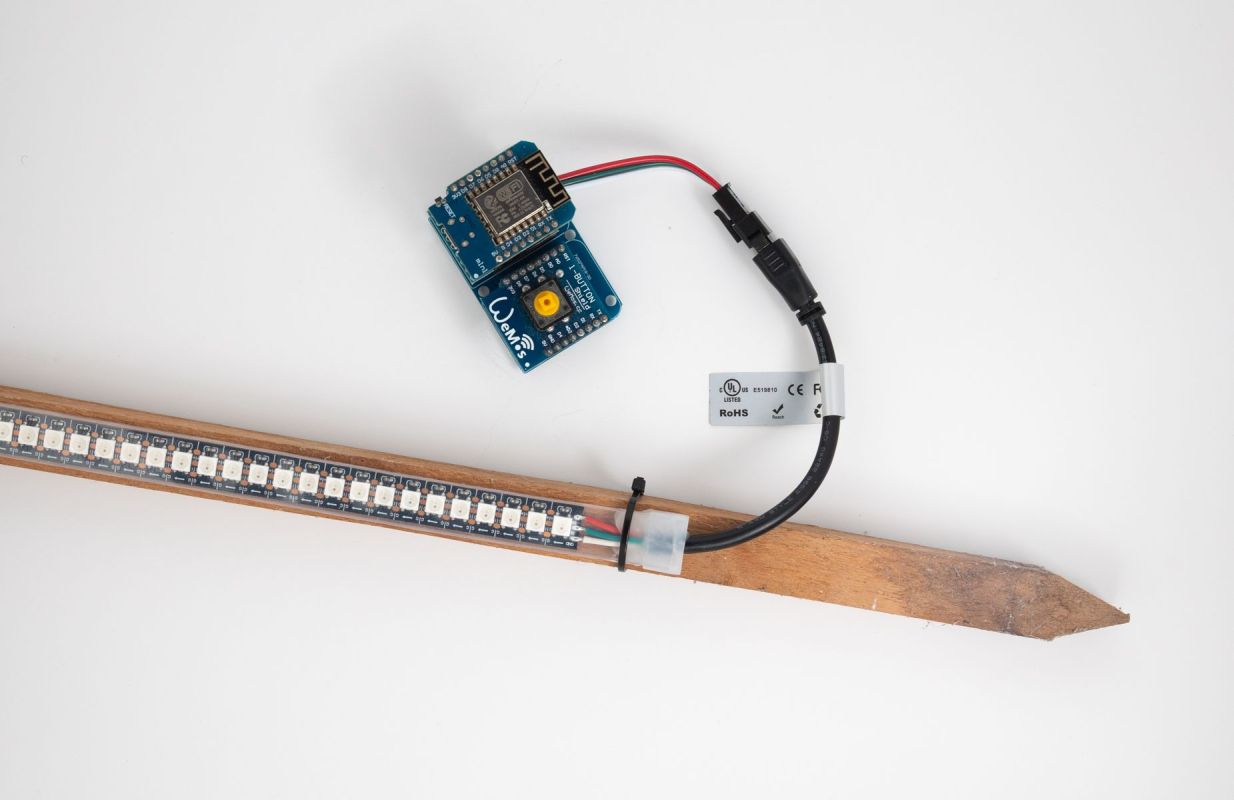
I set my camera up on a tripod in my lounge room, guessed at some settings, and was able to capture the proof of concept:
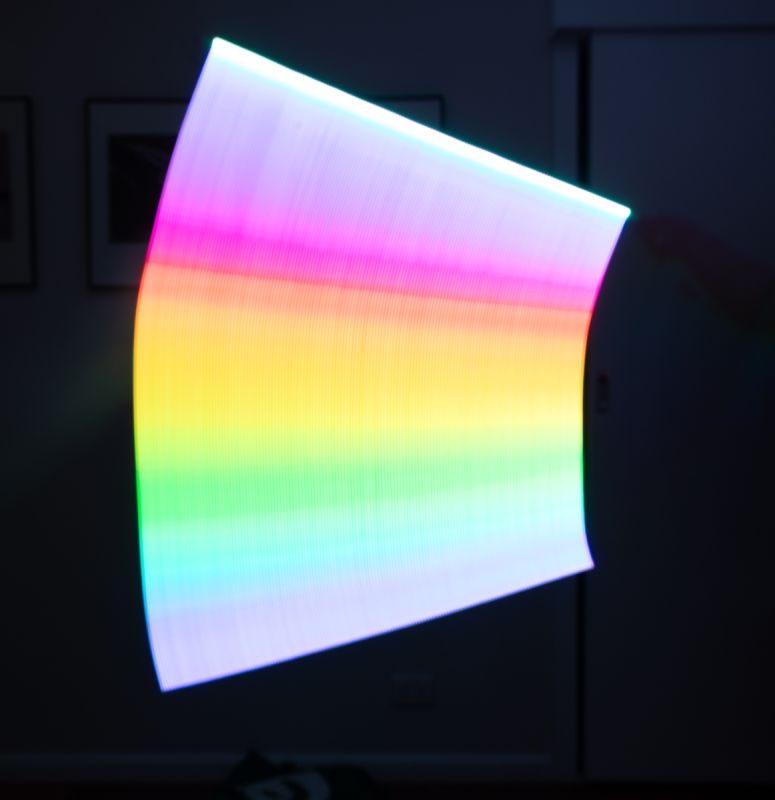
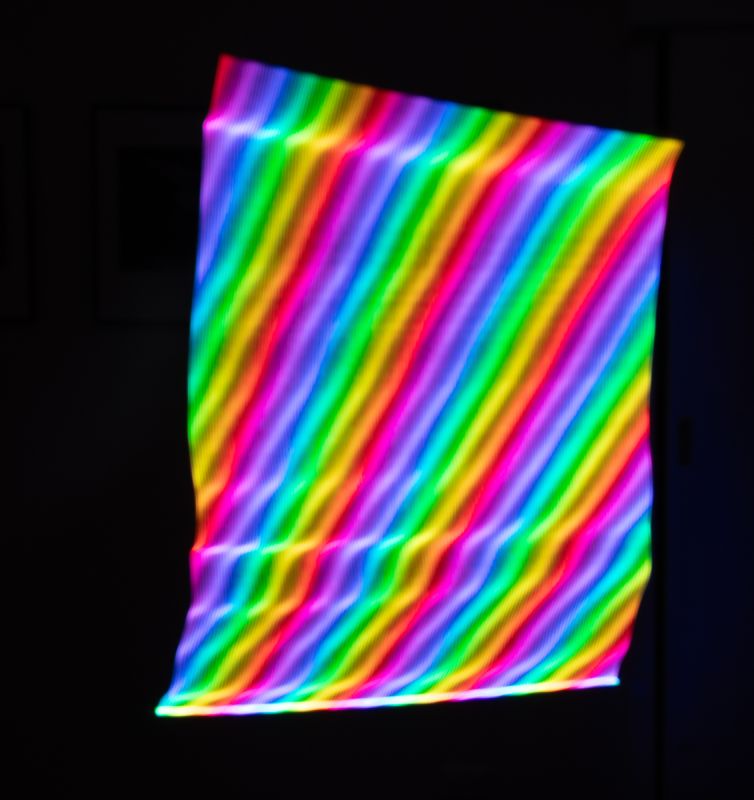
This was going to work so I visited Bunnings for some parts and ordered others oneline. While I waited for delivery I also tinkered with the software side, I ended up using Lighty as the starting point, but refactored it to both learn how it worked and to be used with my choice of hardware.
Parts that I was waiting on included:
- different styles of LED channel and different diffusers for those channels
- inline USB power switch
- newer smaller USB battery bank
- extra 3 Pin JST SM Male And Female Connectors
- more LED strips but just the bare strip (not in the waterproof casing like the one I had)
I also realised I could order an off the shelf small ESP32 based WLED controller, which would be nice for the WLED version of the stick.
To hold different components securely together, I 3d printed some brackets, giving me my version 1:


This version is robust enough that I could then walk back and forth across my lounge room, switching the next WLED effect each time to produce my own catalog of the effects:
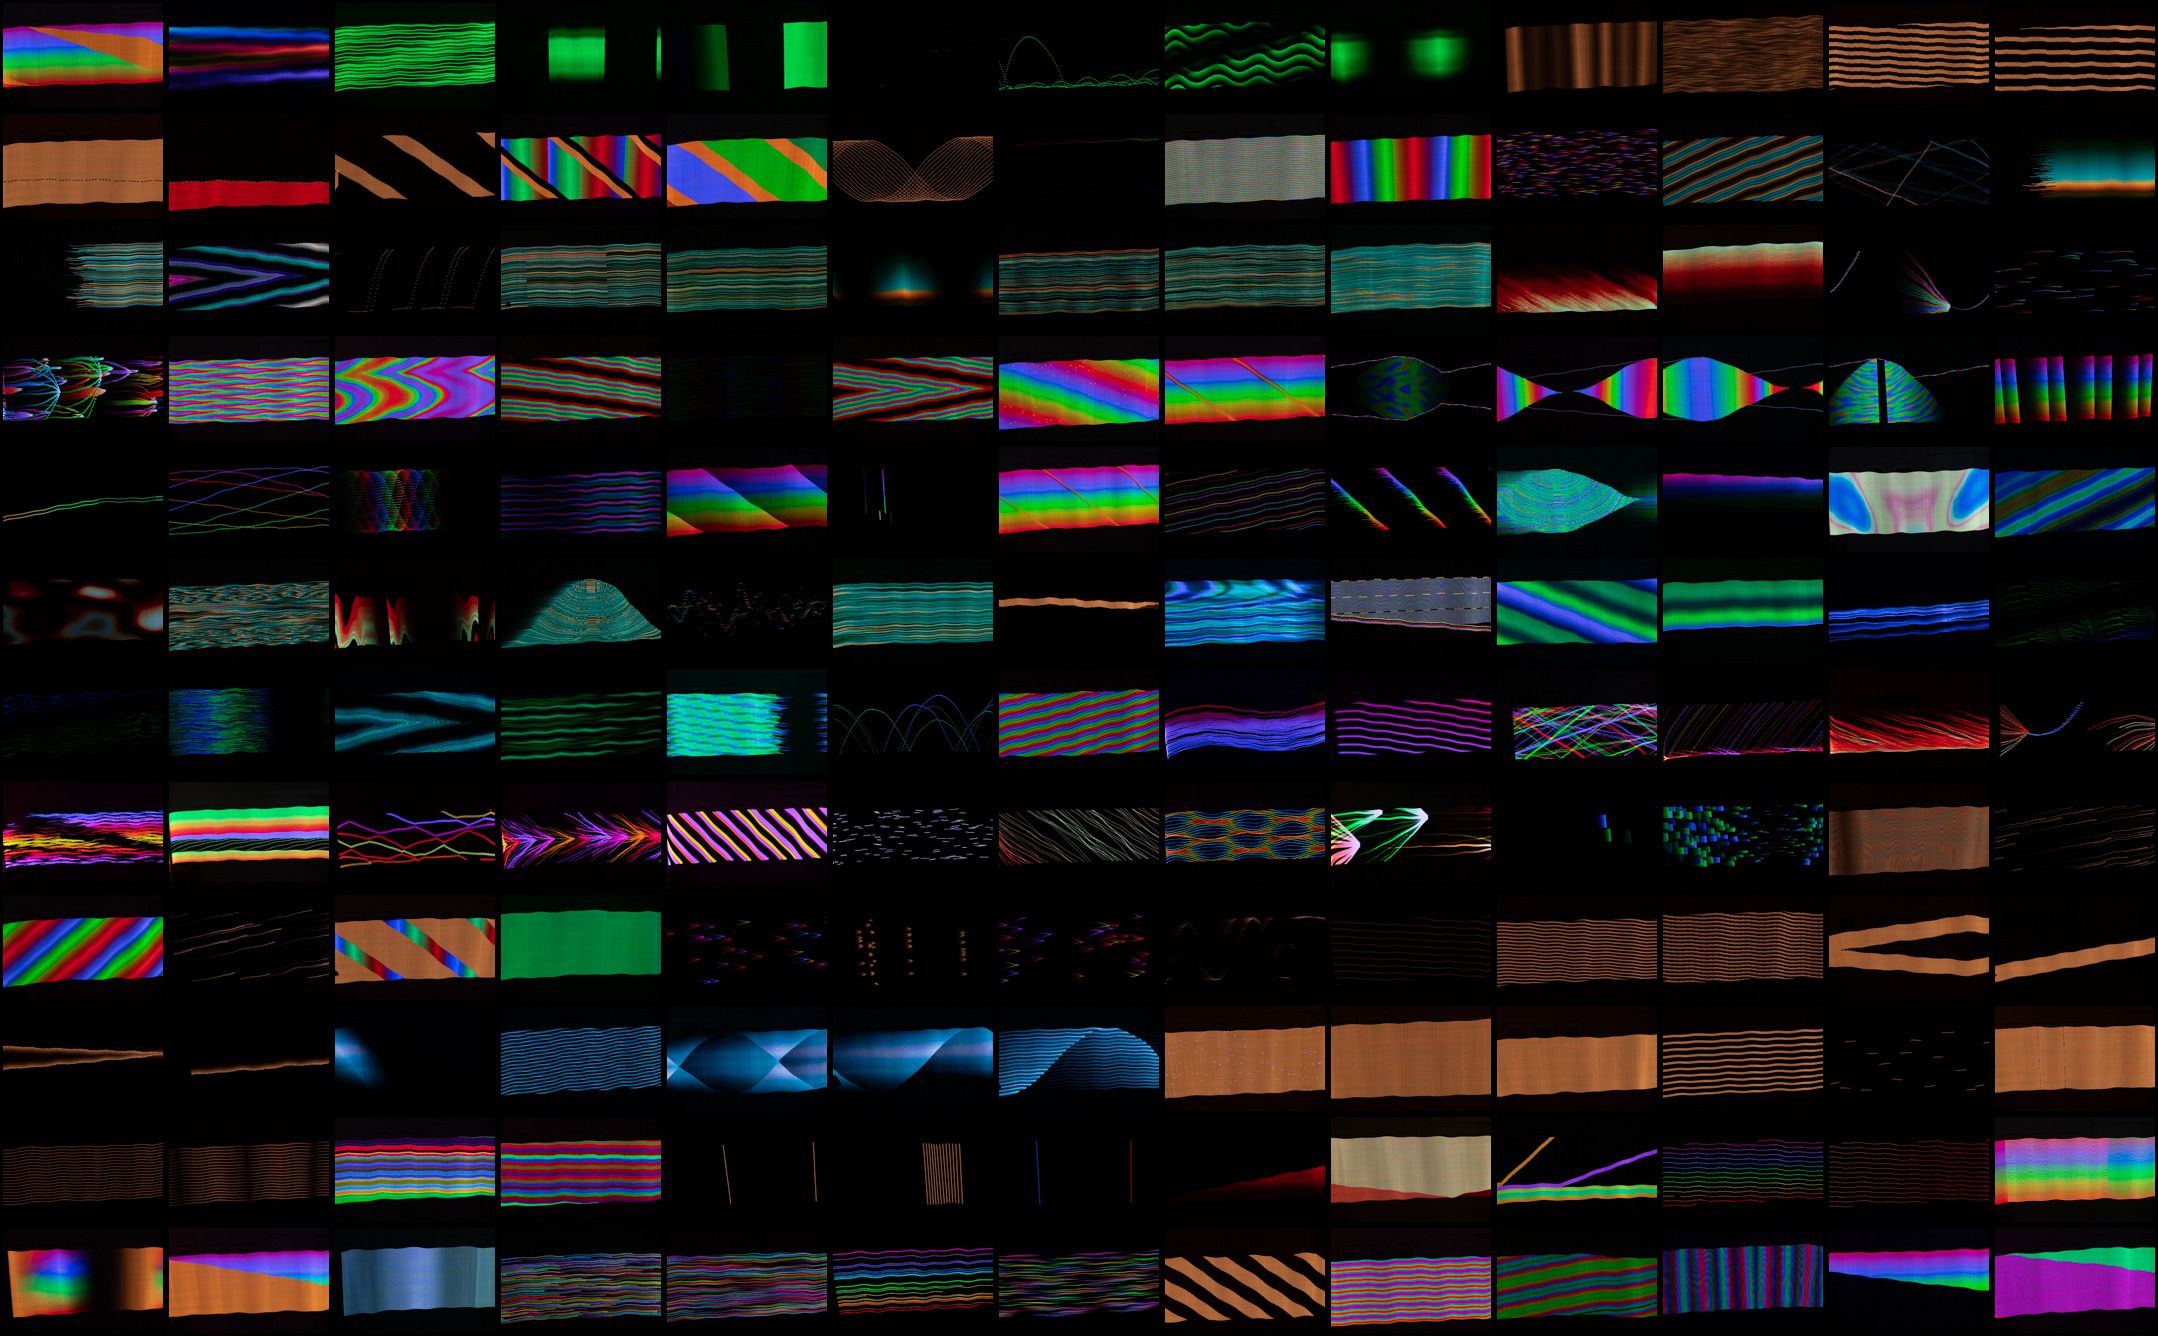
From these I selected a few that I liked as patterns, then experimented with using those while waving the stick around in front of the camera:


From these experiments a selection of thirty are in this Flickr album: DIY Pixelstick – WLED based patterns
Some of these abstract shapes were made with the bare LEDs, while others had a frosted diffuser. In this context I prefer the sharp lines made by the LEDs, but when the lighting is just an effect around another subject the frosted effect might be better, that is also what the commercial and other diy versions are doing.
Improvements I have planned for this version are:
- smaller strip of wood, or maybe aluminum channel (once final it will be painted black)
- handles of some form, but don’t know what shape or position yet
- maybe a different shaped battery, eg something long and round, such as would take 16650 li-ion cells
On the software side this will use WLED, but I will configure it so the single button on the controller can be used for certain actions, eg single press to turn on or off, double press to cycle through presets.
The other version of the stick (using preloaded images) is also coming along. I am keeping this self-contained with and SD card reader, small screen and input buttons. The current version looks like this:
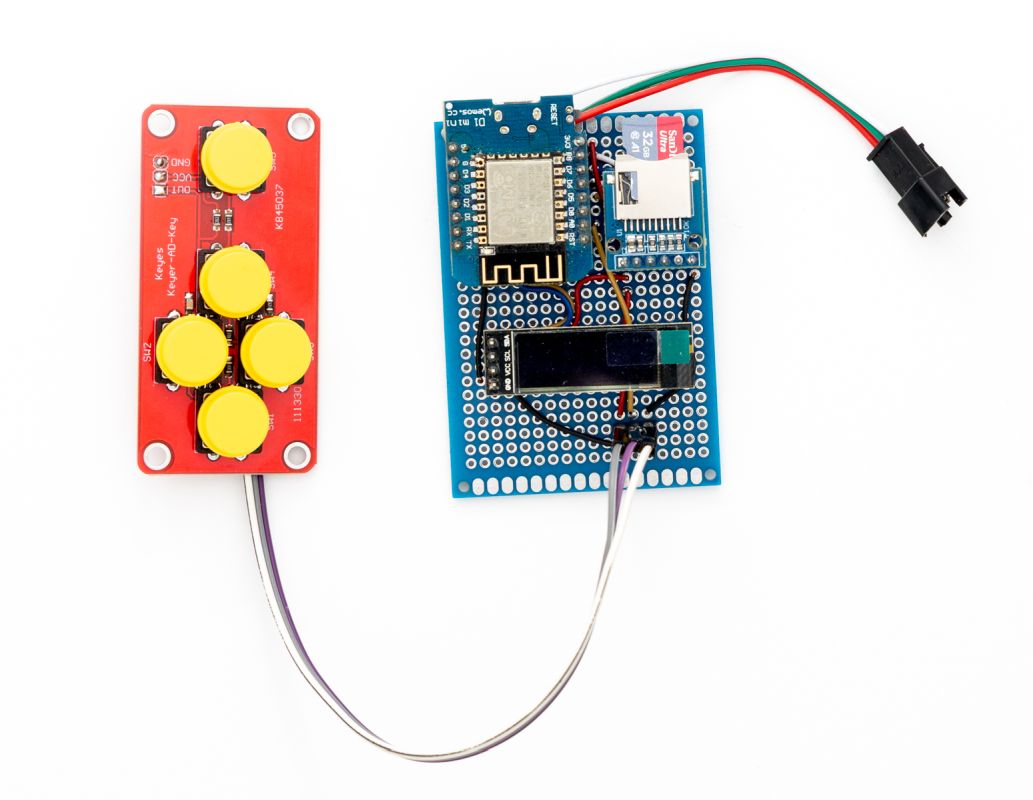
And is able to produce these:
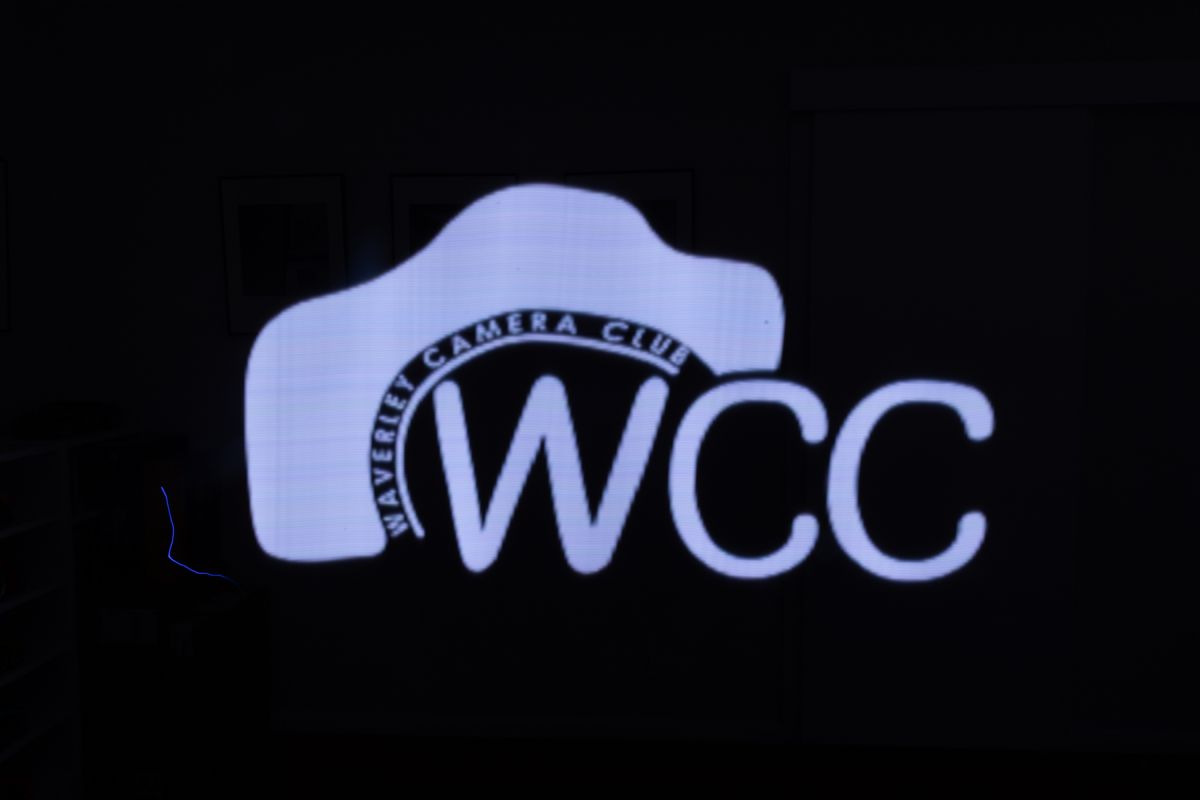
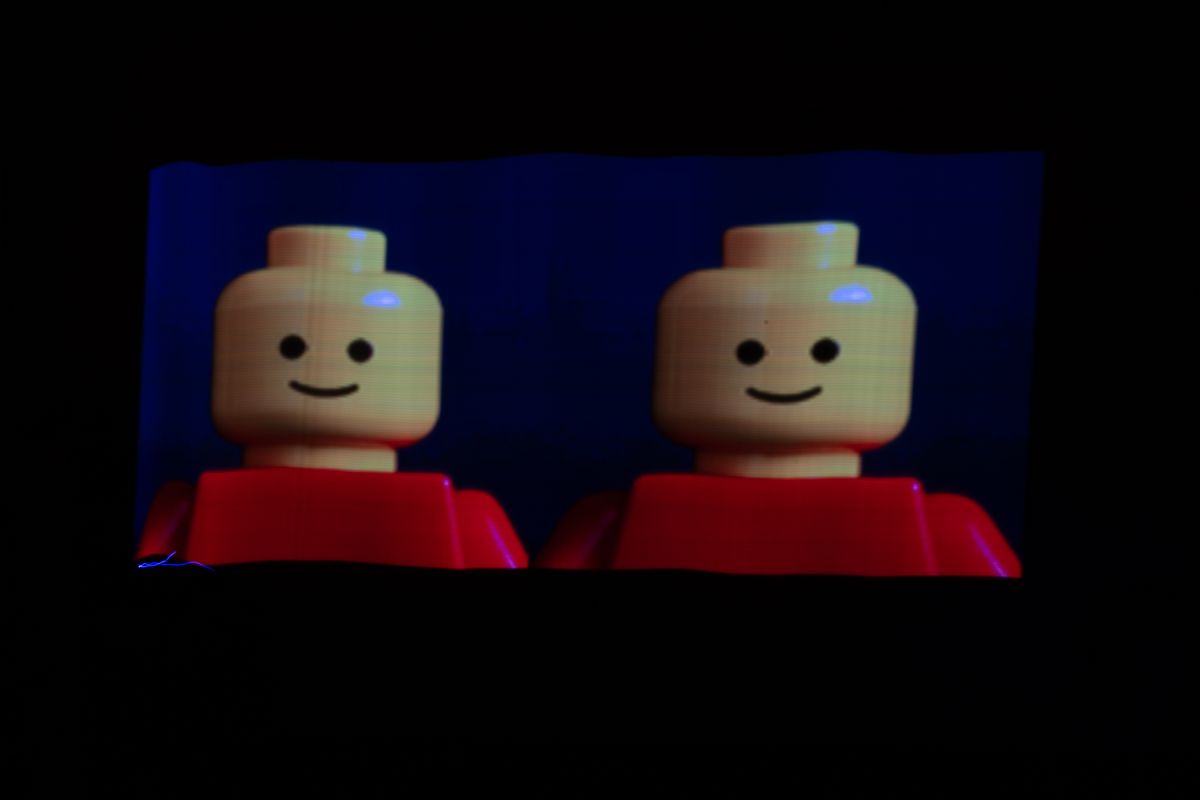
For now I have put this on hold until I work out some suitable locations to try it out.
Tagged with: photography

